

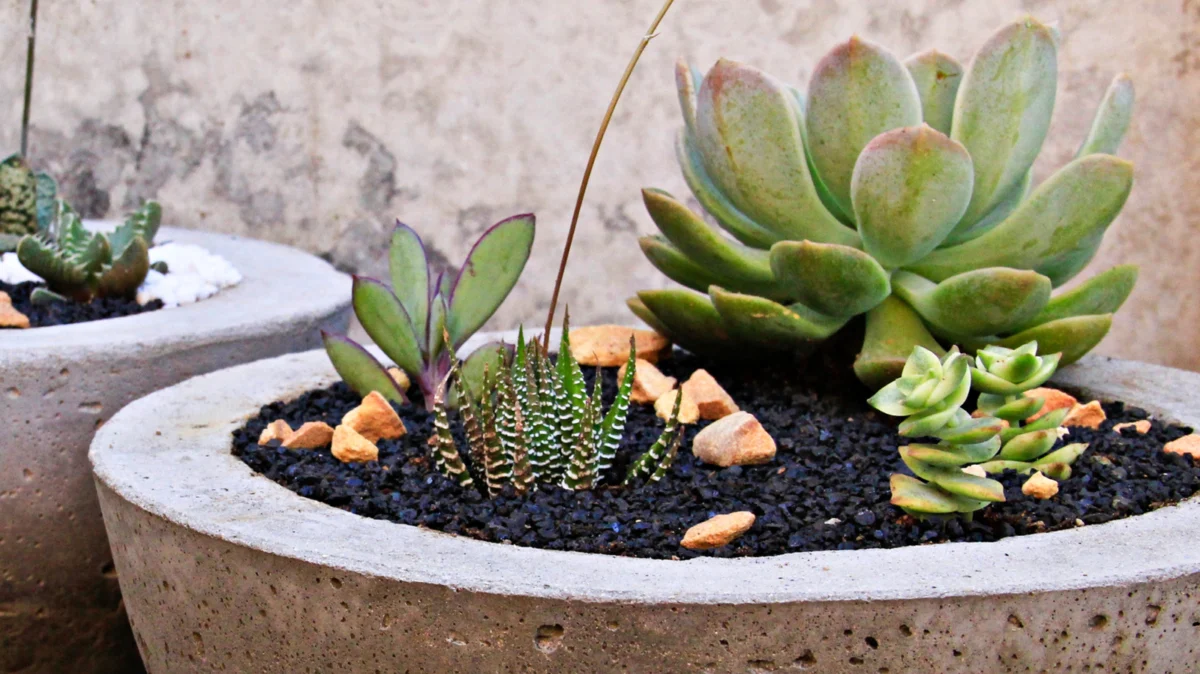
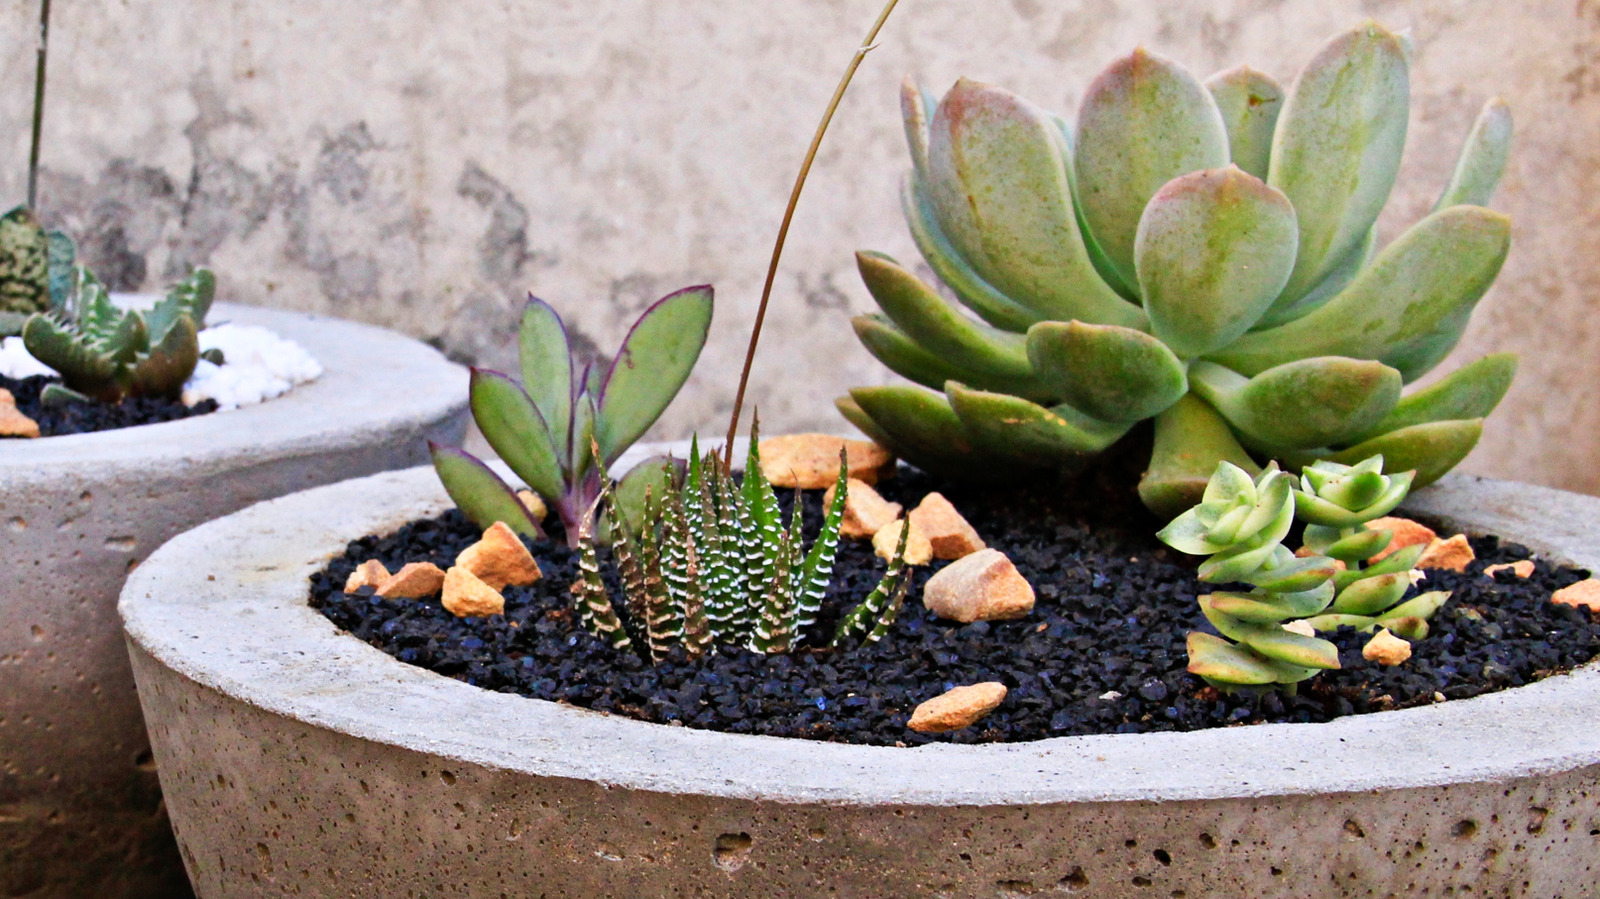
In the world of interior and landscape design, concrete planters have long been coveted for their structural integrity, raw industrial charm, and ability to elevate a backyard’s aesthetic. However, these pieces often come with a prohibitive price tag. High-end, cylindrical concrete planters can easily exceed $100 for a single unit, leaving many homeowners to choose between sacrificing their vision or overextending their renovation budgets.
Fortunately, a growing movement of DIY enthusiasts is proving that high-end design does not have to be high-cost. By repurposing common household items—specifically old laundry hampers—and utilizing basic masonry techniques, anyone can manufacture custom, architectural-grade planters for a fraction of the retail cost.
The Core Concept: From Laundry Room to Living Space
At its heart, the project relies on the principle of casting. Concrete is a fluid medium that adopts the shape of whatever vessel holds it. By using a laundry hamper as an exterior mold and a cardboard structure as an interior void-creator, you can replicate the look of boutique planters found in high-end garden centers.
The process is deceptively simple but requires patience, precision, and an appreciation for the chemistry of concrete. Whether you are a seasoned DIY veteran or a newcomer to masonry, the transformation of a discarded plastic hamper into a durable, heavy-duty garden feature is a project that balances utility with creative expression.
Chronology of Construction: A Step-by-Step Guide
Successfully casting concrete requires a logical, methodical approach. Following this sequence will ensure structural integrity and a professional finish.
Phase 1: Preparation and Safety
Before mixing any materials, establish a workspace. Concrete is heavy, messy, and alkaline, which can cause skin irritation. Safety is paramount: always wear thick rubber gloves, protective goggles, and a dust mask to prevent the inhalation of fine cement particles during the mixing process.
Phase 2: Preparing the Molds
The laundry hamper serves as your primary exterior mold. If your hamper has holes, you must seal them thoroughly with heavy-duty packing tape. Alternatively, using a solid-walled plastic bin or trash can will save significant time and provide a smoother final surface.
Next, construct your inner mold. This is the "negative" space that will house your soil and plants. Using cardboard, form a cylinder or shape that mirrors the hamper but is several inches smaller in diameter. Secure the cardboard with tape to ensure it is rigid; once filled with sand or weighted material, it must withstand the pressure of the wet concrete pushing against it.
Phase 3: The Mixing Process
While you can formulate your own mixture using sand and cement—adhering to the traditional 4:2:1 ratio—purchasing a pre-mixed bag of concrete is the most efficient route for beginners. Pre-mixed bags contain precise ratios of aggregate and binders, ensuring that you only need to add water to achieve the desired consistency. Aim for a "thick oatmeal" texture; if the mix is too runny, it will lose structural strength; if it is too dry, it will leave unsightly voids in the final finish.
Phase 4: Pouring and Curing
- The Base: Pour a thin layer of concrete into the bottom of the hamper. Tamp it down with a trowel to remove air bubbles.
- The Core: Carefully center your inner cardboard mold onto the wet base. Fill the inside of the cardboard mold with sand or heavy rocks to prevent it from floating when the surrounding concrete is poured.
- The Fill: Gradually fill the gap between the hamper and the cardboard. Every few inches, physically shake or tap the sides of the hamper. This vibration is crucial, as it forces trapped air bubbles to the surface, resulting in a denser, smoother concrete finish.
- Curing: Allow the planter to sit undisturbed for at least 24 to 48 hours. Patience is the greatest variable here; rushing the de-molding process can cause the concrete to crack or crumble.
Essential Considerations: Drainage and Root Health
One common pitfall in amateur concrete projects is the omission of drainage. Concrete is non-porous, and without a drainage hole, water will pool at the bottom, leading to root rot and the death of your plants.
There are two primary methods for integrating drainage. The most effective approach is to insert a greased PVC pipe or a rubber stopper through the center of the base mold before pouring. Once the concrete has hardened, the object can be removed, leaving a perfectly formed drainage channel. If you forget this step, do not despair: you can use a masonry-grade diamond-tipped drill bit to bore through the base after the piece has fully cured. If you lack specialized tools, many hardware stores offer rental services for concrete-drilling equipment.
Supporting Data: Why DIY Concrete is Gaining Traction
The shift toward DIY concrete projects is driven by two factors: the rising cost of outdoor decor and the "customization revolution." Market analysis indicates that consumers are increasingly seeking one-of-a-kind home goods that reflect their personal aesthetic rather than mass-produced retail items.
- Cost Efficiency: A professional-grade concrete planter of 15+ inches costs roughly $100–$150. A DIY version, utilizing a recycled hamper and a single $15 bag of concrete, costs under $25—a savings of over 80%.
- Weight and Durability: Unlike plastic or resin planters, which can tip over in high winds or become brittle under UV exposure, concrete is incredibly heavy and weather-resistant. It provides a permanent, grounding element to a garden space.
Implications for Design: Personalization and Aesthetic Range
The beauty of this project lies in its versatility. The "industrial" look is merely the starting point. By manipulating the mold, you can achieve a variety of textures and finishes:
- Textural Impressions: Before pouring, line the inside of the hamper with jute, bubble wrap, or foam mats cut into geometric shapes. These materials will leave intricate patterns, deep reliefs, or organic textures on the exterior of the concrete.
- Artistic Finishing: Once cured, the concrete acts as a blank canvas. You can use stencils and exterior-grade spray paint to apply patterns, color-block the surface, or leave it raw and untreated for a brutalist, minimalist appearance.
- Inlays: During the final stages of the pour, you can embed glass shards, river stones, or seashells into the rim of the planter, creating a mosaic effect that merges industrial durability with delicate natural beauty.
Conclusion: The Long-Term Value of DIY Masonry
While the initial appeal of this project is the financial saving, the long-term value is the creation of bespoke garden architecture. These planters are designed to last for decades, weathering naturally over time to develop a unique patina that plastic alternatives simply cannot replicate.
By repurposing simple household items like laundry hampers, homeowners are effectively reclaiming their backyard spaces. The project requires time and physical effort, but the result is a custom-made, durable piece of garden art that serves as a testament to the fact that high-end design is limited only by one’s imagination, not by their bank account. Whether you opt for a smooth, minimalist cylinder or a textured, abstract masterpiece, the process of casting your own planters offers a sense of accomplishment that a store-bought item can never provide. As the seasons change, these concrete anchors will remain, standing as a durable and stylish reminder of your creative labor.
