

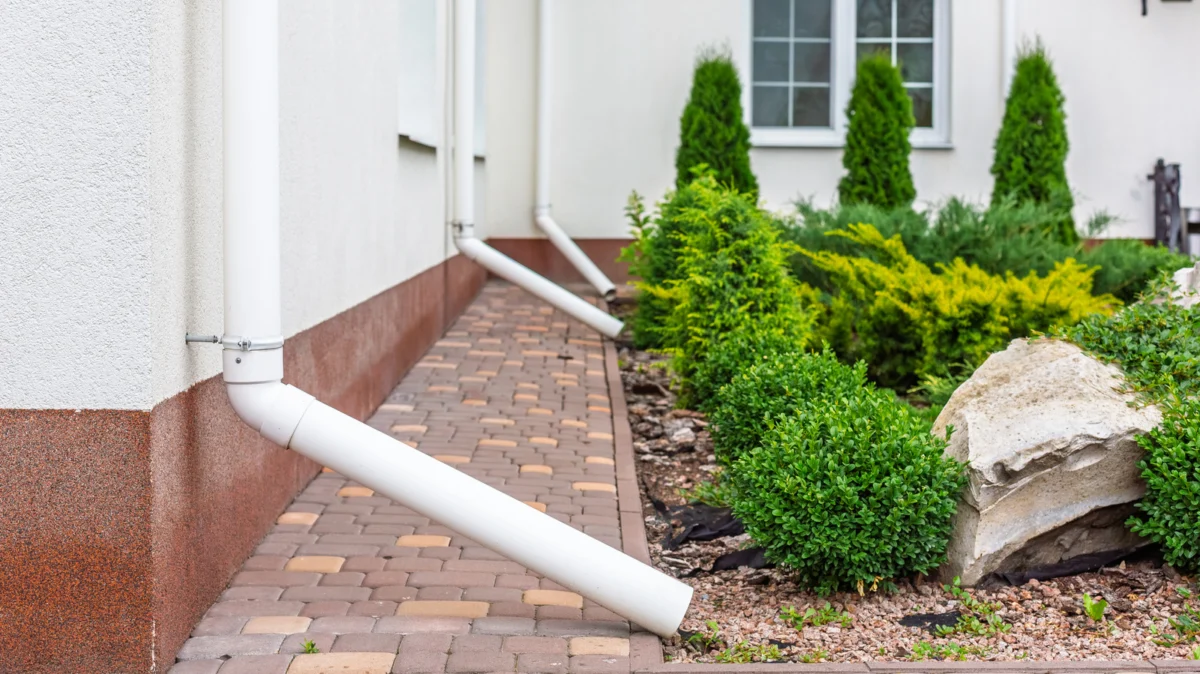
Main Facts: The Hidden Hazard of Surface Drainage
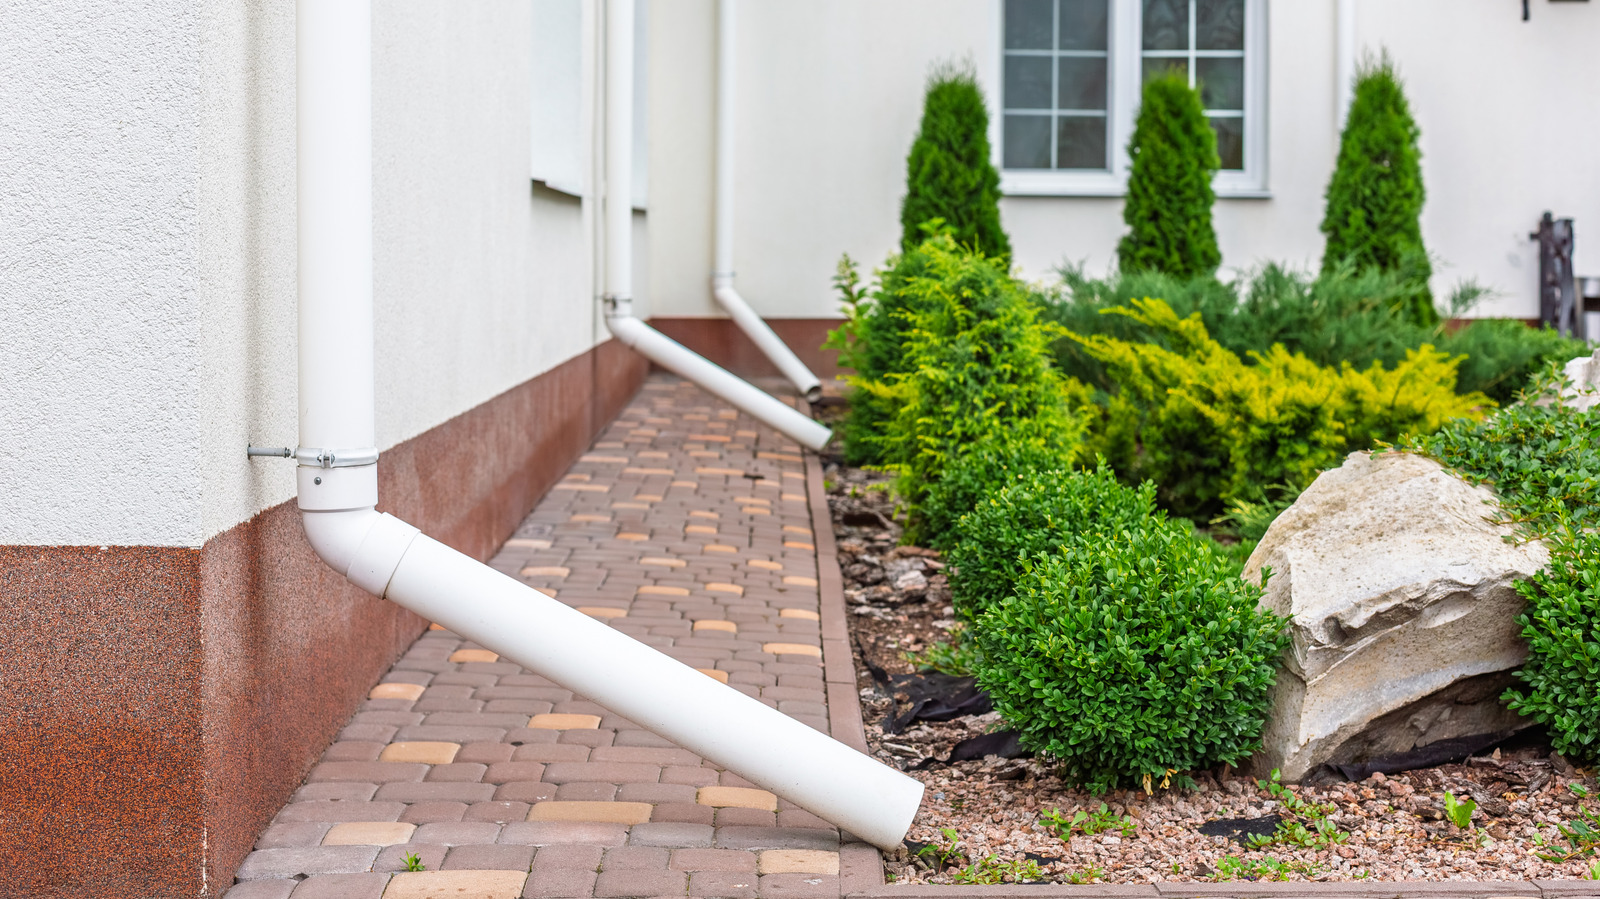
For many homeowners, the downspout is a functional afterthought—a necessary evil that effectively directs torrential roof runoff away from the home’s siding, but often leaves a muddy, eroded mess in its wake. While downspouts are essential for preserving the integrity of a roof and exterior walls, their discharge points are frequently the source of significant landscaping and structural woes. When water consistently exits a downspout onto the same patch of soil, it creates a "washout zone." This constant saturation leads to soil erosion, the destruction of garden beds, and, more dangerously, the pooling of water against the home’s foundation.
Water is the primary enemy of any residential structure. When the ground around a foundation becomes saturated, hydrostatic pressure increases, which can force water into basement walls, cause shifting in the soil, and eventually lead to foundation cracks or basement flooding. Recognizing these risks, savvy DIY enthusiasts are increasingly turning to a practical and aesthetically pleasing solution: burying the downspout extension. By extending the pipe underground and directing the water to a distant, lower-lying area of the yard, homeowners can solve drainage issues while simultaneously hiding the unsightly plastic or metal piping that usually detracts from a home’s curb appeal.
The Evolution of Drainage: A Chronology of the DIY Shift
The concept of buried drainage is not new; professional contractors have utilized underground piping systems for decades. However, the movement toward "DIY-accessible" drainage solutions has accelerated significantly in recent years, fueled by the rise of accessible content creators like Jesse Smith, whose instructional videos have brought professional-grade techniques to the average homeowner.
- Early 2000s: Drainage solutions were largely relegated to professional landscaping firms, often involving heavy machinery and expensive professional-grade PVC installations.
- 2010–2015: The rise of flexible, corrugated plastic pipe in home improvement centers made DIY drainage more accessible, though many installations remained "above ground" and visually intrusive.
- 2018–Present: A cultural shift toward "curb appeal" and the rise of social media home-improvement tutorials have standardized the process of burying downspouts. Today, high-quality, UV-resistant materials and specialized adapters allow homeowners to complete the installation in a single weekend.
Supporting Data: Why Proper Drainage Matters
The physics of drainage is straightforward, yet often ignored. According to standard building codes, downspouts should discharge water at least four to six feet away from the foundation. Yet, the reality of many suburban homes is that downspouts often terminate just inches from the perimeter.
The Impact of Soil Saturation
- Erosion Rates: In heavy rain, a standard roof surface of 1,000 square feet can generate hundreds of gallons of water in a single storm. If this volume is concentrated in one square foot of soil, the rate of erosion can reach several inches per season, depending on the soil composition.
- Foundation Health: Industry studies suggest that up to 60% of all residential foundation issues are linked to improper drainage. By relocating the discharge point, homeowners can reduce the moisture load on their foundation perimeter by as much as 80% during peak rainfall.
- Material Longevity: Modern corrugated piping is designed to withstand soil pressure for 20 to 30 years, provided it is installed with proper bedding and debris protection.
Official Guidance and Professional Recommendations
While the DIY approach is highly effective, professional landscape architects emphasize that homeowners must exercise caution. "The most common mistake is failing to account for grade," says residential drainage consultant Mark Halloway. "If you bury a pipe but don’t ensure a consistent, downward slope, you are essentially creating a long, buried bucket that will hold stagnant water."
Essential Installation Steps
For those looking to undertake this project, the following professional-grade workflow is recommended:
1. Site Analysis and Utility Locating
Before a single shovel hits the ground, homeowners must call their local utility marking service. Hitting a gas or fiber-optic line is a catastrophic and expensive error. Once the area is cleared, map the path from the downspout to the discharge point. Remember that the pipe must move downhill. If the yard is flat, you may need to build a "dry creek bed" or a slight berm to create the necessary elevation drop.
2. Material Selection
Avoid thin-walled, flimsy tubing. Invest in heavy-duty, solid-walled PVC or high-density corrugated pipe designed for burial. Using a dedicated downspout adapter is vital; it provides a clean, secure connection that prevents water from splashing out at the base of the house.
3. Excavation and Soil Management
The trench should be deep enough to allow for at least three inches of cover over the pipe to protect it from lawnmower blades and foot traffic. Careful excavation—specifically saving the original turf in squares—allows the homeowner to "re-sod" the trench once the pipe is laid, resulting in an invisible repair.
4. The Discharge Point
The end of the pipe should not simply disappear into the dirt. Professional installations often use a "pop-up emitter." These devices sit flush with the lawn, allowing grass to grow over them, and only rise when the water pressure from the downspout pushes the lid open. Alternatively, some homeowners choose to direct the water into a rain garden—a depressed, landscaped area filled with moisture-loving plants that naturally filter and absorb the runoff.
Implications for Home Value and Sustainability
The decision to bury downspouts has implications that extend far beyond preventing a muddy walkway. It is a proactive investment in the home’s asset value.
Aesthetic Value
Unfinished, dangling downspouts are visual clutter. Burying them creates clean, crisp lines along the home’s foundation. When combined with smart landscaping—such as edging, stone beds, or decorative shrubs—the functional drainage system becomes a design feature.
Environmental Sustainability
By directing water away from hard surfaces like driveways and into the soil, homeowners reduce the amount of polluted storm runoff that enters local storm drains. When this water is directed into a rain garden or a designated absorption zone, it helps recharge the local groundwater table, turning a potential nuisance into an environmental benefit.
Maintenance Considerations
A buried system is not a "set it and forget it" solution. Debris from the roof—such as leaves, twigs, and shingle granules—will inevitably find its way into the pipe.
- Cleanouts: Always install a cleanout adapter at the highest point of the pipe near the downspout connection. This allows you to flush the system with a garden hose once or twice a year.
- Gutter Guards: Installing quality gutter guards significantly reduces the amount of debris entering the downspout, thereby extending the life of your buried drainage system.
Conclusion: The Path Forward
Transforming your home’s drainage from an eyesore into an invisible, high-performance system is one of the most rewarding DIY projects a homeowner can undertake. It requires a modest investment in materials, a bit of sweat equity, and careful planning regarding yard grading and utility safety. By taking the time to properly bury your downspouts, you protect your home’s most valuable asset—its foundation—while simultaneously enhancing the beauty and health of your lawn.
Whether you are motivated by the desire to stop erosion, the need to save your basement from dampness, or simply the goal of a cleaner, more manicured yard, the buried downspout is a definitive upgrade. It is a testament to the idea that the most effective home improvements are often those that work silently, efficiently, and completely out of sight. With the right tools and a commitment to proper installation, you can effectively manage the water around your home and ensure that your property remains dry, stable, and visually appealing for years to come.
