

For many homeowners, the backyard is more than just a plot of land—it is an extension of the living space, a canvas for self-expression, and, occasionally, a challenging topographical puzzle. Whether you are contending with seasonal mud, a bubbling drainage creek, or simply a desire to add architectural depth to a flat lawn, the solution might be more accessible than you think.
Drawing inspiration from viral DIY trends—most notably a widely shared project by TikTok creator @thebuchaus—homeowners are discovering that the humble concrete block is the secret ingredient to building a charming, durable, and highly customizable backyard bridge. This project bridges the gap between industrial utility and aesthetic charm, providing a functional pathway that transforms inaccessible zones of a yard into the focal point of the landscape.
The Core Concept: Infrastructure Meets Artistry
The premise of this DIY project is simple: utilize standard cinder blocks as a solid, grounded foundation to support a raised wooden walkway. While professional masonry bridges can cost thousands of dollars and require heavy machinery, the "cinder block bridge" method is designed for the weekend warrior.
By leveraging the weight and durability of concrete blocks, builders can create a bridge that feels permanent without the need for complex concrete pouring or heavy-duty structural engineering. This project is particularly effective for crossing minor drainage swales, wet patches that refuse to dry, or simply as a "bridge to nowhere" that serves as a transition point between a patio and a garden path.
Chronology: A Step-by-Step Execution Guide
Building a structure that is both safe and aesthetically pleasing requires a methodical approach. Below is the workflow for constructing a standard cinder block footbridge.
Phase 1: Preparation and Foundation
The longevity of any structure is dictated by its foundation. Start by identifying the path the bridge will traverse. Clear the area of debris and excavate a trench roughly 4 to 6 inches deep, matching the footprint of your block stacks.
It is vital to level the ground thoroughly. Using a hand tamper, compress the soil to prevent future sinking. A layer of crushed gravel acts as a critical drainage buffer, preventing water from pooling under the concrete and causing the structure to shift over time.
Phase 2: Building the Concrete Pillars
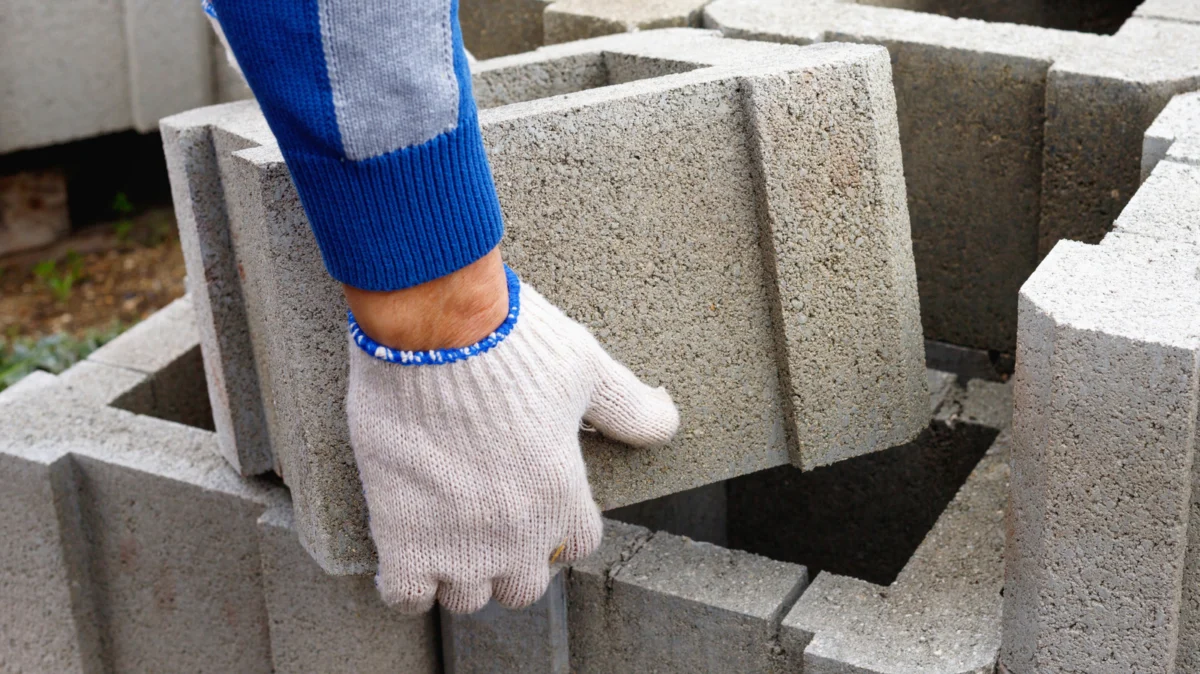
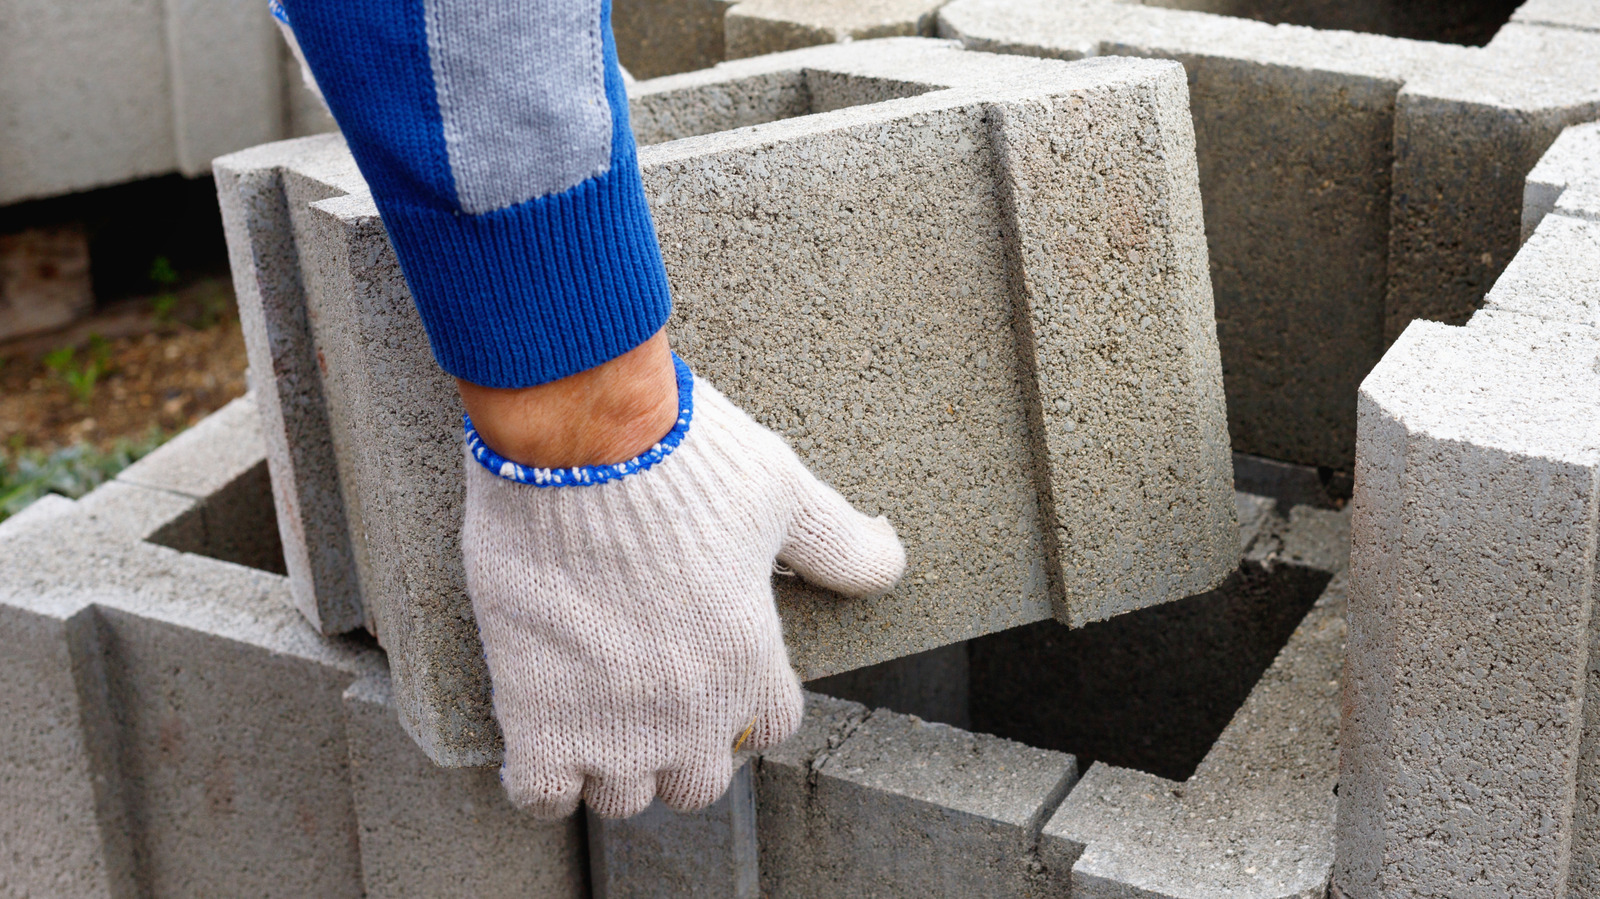
Once the ground is prepared, stack your concrete blocks in a staggered, interlocking pattern to ensure stability. Most builders prefer a four-block-wide footprint for safety. As you rise, apply a high-grade construction adhesive—such as SikaBond—between the layers. This creates a monolithic stack that resists movement. Repeat this on both sides of your crossing, ensuring the pillars are perfectly parallel and equidistant.
Phase 3: Constructing the Wooden Span
The deck of the bridge is built using a frame of 2-by-6-inch pressure-treated lumber. Two boards should run the length of the perimeter, with a third running down the center for added weight distribution.
Expert Tip: While the original project relied on screws, many structural experts recommend using high-quality exterior-grade nails or structural bolts. Nails possess a degree of "flex" that allows them to accommodate the subtle shifting of wood as it expands and contracts in the sun, whereas screws can sometimes snap under heavy, concentrated pressure.
Phase 4: Decking and Final Touches
Horizontal 2-by-6 boards are then laid across the frame to create the walking surface. These should be secured with galvanized screws or nails. Once the deck is complete, it is nestled between the two concrete pillars. The weight of the timber, combined with its snug fit between the masonry, creates a stable, sturdy crossing.
Supporting Data: Materials and Costs
One of the most compelling aspects of this project is its cost-effectiveness. By avoiding specialized hardware and using widely available masonry units, the average cost for a small bridge is often under $200–$300, depending on the length of the span.
| Material | Estimated Usage | Cost Range (Approx.) |
|---|---|---|
| Concrete Blocks | 16-24 units | $80 – $120 |
| Pressure Treated 2×6 | 6-10 boards | $70 – $150 |
| Construction Adhesive | 2-3 tubes | $20 – $30 |
| Gravel/Base Material | 2-3 bags | $15 – $25 |
Note: Prices vary significantly by region and hardware supplier.
Implications for Landscape Design
The rise of the "backyard bridge" movement speaks to a larger shift in home improvement. Today’s homeowners are increasingly prioritizing "experiential landscaping." Rather than merely maintaining a flat, green lawn, there is a growing trend toward creating zones within the yard that invite exploration.
Modern Coastal Flair vs. Naturalistic Integration
The creative potential for these bridges is vast. The original TikTok project utilized a bold, rust-orange paint, providing a striking contrast against green foliage and creating what the creator dubbed "modern coastal flair." Conversely, those looking for a more organic look might choose to leave the concrete raw, allowing moss and lichen to claim the blocks over time, effectively camouflaging the bridge into the landscape.
Plant Integration
A bridge is only as good as the scenery it traverses. Landscapers often use these structures as an opportunity to curate the surrounding flora. By planting native species—such as ferns, hostas, or moisture-loving grasses—along the base of the bridge, the structure feels less like an intrusion and more like a bridge that has always belonged there.
Cautionary Note: When choosing plants, avoid invasive species like Colocasia (elephant ears) in regions where they are not native. Always consult your local extension office to determine which species will thrive in your specific soil and water conditions without disrupting the local ecosystem.
Safety and Structural Considerations
While the construction is straightforward, safety must remain the priority.
- Weight Distribution: If the bridge spans a significant distance, you must incorporate intermediate support. Never rely on a single, long piece of timber to span a gap without central bracing.
- Moisture Management: Since the bridge will likely be located in a damp area, using pressure-treated lumber is mandatory. However, even treated wood will benefit from a coat of exterior stain or water-sealant applied annually.
- Weight Limits: These bridges are designed for foot traffic. They are not intended for heavy equipment or high-traffic areas. Ensure that your foundation is truly level; an uneven base is the primary cause of structural failure in DIY masonry projects.
Conclusion: The Path Forward
Transforming a muddy, inaccessible, or "dead" space in your yard into a functional path is a hallmark of a well-designed home. The concrete block bridge is a testament to the idea that luxury in the landscape is not about expensive materials, but about clever engineering and a willingness to get your hands dirty.
Whether you are looking to cross a seasonal stream or simply want to add a sense of journey to your backyard stroll, this project offers an accessible, durable, and highly aesthetic solution. By following the fundamental principles of level foundations, structural adhesive use, and proper material selection, you can build a charming bridge that elevates your outdoor living experience for years to come.
