

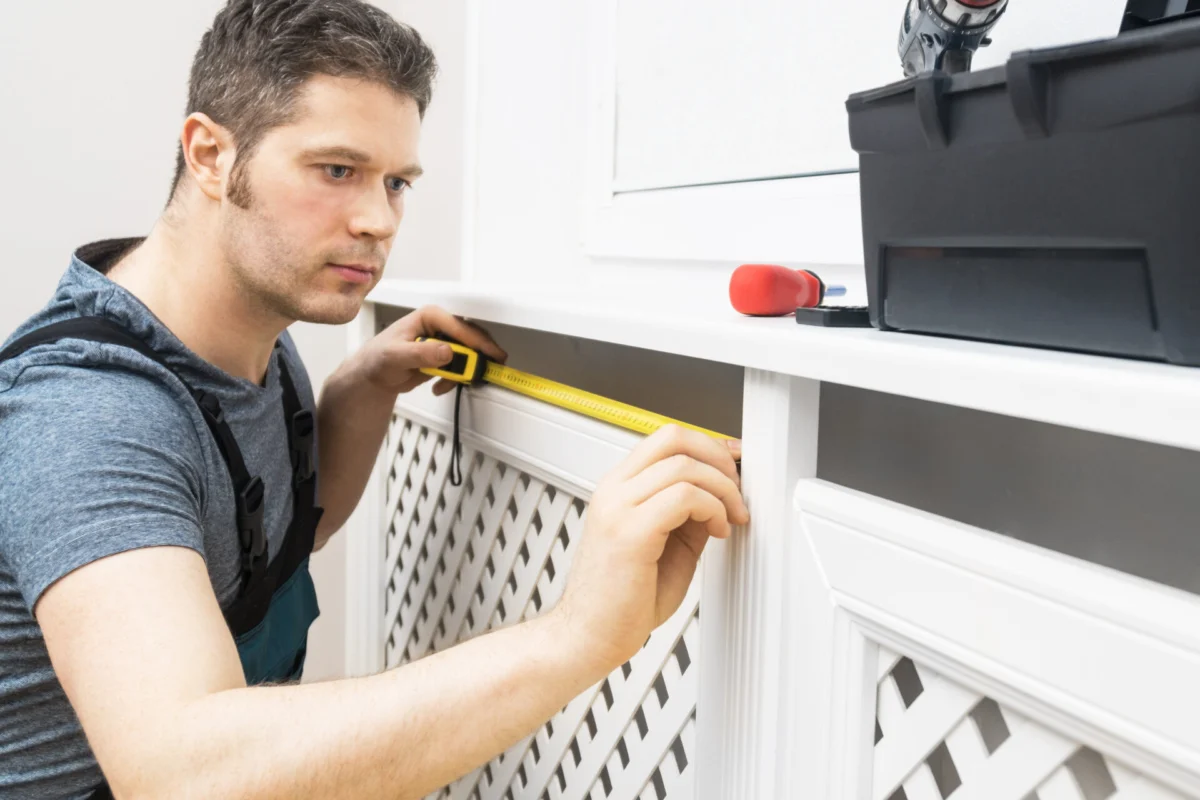
Radiators have long been a staple of home heating, prized for their ability to provide steady, comfortable warmth. However, they are rarely considered the centerpiece of modern interior design. Often bulky, outdated, and occasionally hazardous to curious children or pets, standard cast-iron or steel radiators can detract from a room’s aesthetic. The solution? A custom-built radiator cover.
Beyond simply hiding an eyesore, a well-engineered radiator cover can serve as a functional piece of furniture—acting as a console table, a window seat, or a display shelf—while simultaneously improving the safety of your living space. This guide provides a deep dive into the planning, construction, and safety considerations necessary to elevate your home’s heating units.
The Core Objectives: Why Build a Cover?
Before reaching for your saw and measuring tape, it is essential to understand that a radiator cover is more than just a decorative box. It is a modification to your home’s HVAC system. When executed correctly, a cover offers three primary benefits:
- Safety: Radiators can reach temperatures high enough to cause serious contact burns. A cover acts as a physical barrier, protecting children and pets from direct access to hot surfaces.
- Aesthetic Integration: A custom cover allows you to match your heating units to your home’s architectural style, whether you prefer modern minimalist lines or traditional wainscoting.
- Functional Utility: By extending the footprint of the radiator slightly, you create a top surface that provides much-needed shelf space or bench seating, particularly in smaller apartments or historic homes.
Chronology of a DIY Project: From Measurement to Masterpiece
Building a radiator cover is a quintessential weekend DIY project. By following a structured approach, you ensure that the finished product is not only beautiful but also thermally efficient.
Phase 1: Precision Planning
The most common mistake in radiator cover construction is poor measurement. You must account for the "total footprint."

- Height: Place a straight edge across the top of the unit and measure from the bottom of that edge to the floor. Add at least 1–2 inches of clearance to ensure the cover doesn’t touch the heating element.
- Width: Include the protruding valves, pipes, and fittings. Your cover must be wide enough to encompass these, or you will be unable to access them for maintenance.
- Depth: Measure from the wall to the outermost point of the radiator. Again, add a clearance buffer (usually 2–3 inches) to allow air to circulate between the radiator and the inside of the cover.
Phase 2: Design and Material Selection
Once you have your dimensions, choose your materials. Medium-Density Fiberboard (MDF) is the gold standard for DIYers because it is stable, affordable, and paintable. However, if you are designing a bench, ensure you use high-grade plywood or structural lumber for the top panel to support weight.
Phase 3: Construction Workflow
- The Frame: Build a sturdy rectangular frame using your measurements.
- The Front Panel: This is the "face" of your cover. It should feature an opening for decorative metal mesh or wooden lattice. This is critical for airflow.
- Assembly: Use a combination of wood glue and pocket screws or dowels. Dowels provide a cleaner look as they hide the fasteners, though pocket screws are easier for beginners.
- Finishing: Sand all surfaces thoroughly. Prime the wood (unless you bought pre-primed MDF) and apply a high-quality heat-resistant paint or stain.
- Installation: Attach the decorative mesh using heavy-duty staples or small screws. Once the paint has cured, place the cover over the radiator. Ensure it is secured to the wall if it will be used as a bench or shelf to prevent tipping.
Supporting Data: Efficiency and Material Science
A frequent point of debate is whether a cover reduces a radiator’s heat output. The answer is: it depends on the design.
According to heating experts, a solid, non-vented cover will significantly reduce a room’s ambient temperature by trapping heat behind the casing. To combat this, the "Open Area Ratio" (OAR) is key. Ideally, the front and top panels of your cover should consist of at least 60% open space (via grilles, lattice, or perforated metal).
Material Performance Comparison:
- MDF: Excellent for decorative purposes. Low thermal conductivity means the cover itself stays cooler to the touch, increasing safety for children.
- Sheet Metal: The most efficient at transferring heat. Metal grilles allow for maximum convection, making them the best choice if you are struggling with a cold room.
- Solid Wood: Not recommended for the front or top panels due to the risk of warping from repeated heating and cooling cycles.
Official Perspectives: Expert Insights on Airflow
We consulted with industry experts regarding the long-term implications of covering heating units. Jimmy Hiller, founder of Happy Hiller, emphasizes that airflow is non-negotiable.
"The most important aspect of a radiator cover is that it must not impede the convective cycle," Hiller notes. "Radiators work by pulling cool air in from the bottom, heating it, and pushing it out through the top. If you block these paths with a solid top or a dense fabric, you effectively turn your heater into an expensive piece of furniture that does nothing."

Hiller advises homeowners to consider "removable access panels." Since radiators often require bleeding or valve adjustments, a cover that is permanently nailed to the wall or floor will eventually become a liability. Build your cover with a "top-lift" mechanism or a front panel that can be unscrewed easily for seasonal maintenance.
Implications: When to Abstain
While covers are beneficial, they are not universal solutions. There are specific scenarios where installing a cover is discouraged:
- Electric Baseboard Heaters: These rely on specific airflow requirements that are easily disrupted. Covering them can cause the internal thermostat to trip or, in extreme cases, create a fire hazard.
- Insufficient Clearance: If your radiator is tucked into a tight corner where a cover would block a doorway or a walkway, it is better to leave it exposed.
- High-Humidity Environments: If the radiator is in a bathroom, be cautious. MDF can absorb moisture and swell. In these areas, use moisture-resistant materials or metal.
Frequently Asked Questions
Q: Do I need to line the inside of my wooden radiator cover with foil?
A: While some DIY guides suggest lining the back with reflective foil to push heat into the room, it is generally unnecessary if you have a well-designed, open-grille front. A high-quality finish on the exterior is usually sufficient.
Q: How do I handle pipes coming through the floor or wall?
A: Use a jigsaw to cut precise notches in the side or back panels of your cover. It is better to have a slightly larger hole and cover the gap with a decorative metal pipe collar (escutcheon).
Q: Is it expensive to build a cover?
A: Costs are highly variable. A basic MDF cover can be constructed for as little as $100–$150 in materials. However, if you choose premium hardwoods and ornate brass grilles, the cost can escalate to $500 or more. Compared to custom-built professional units, which can cost upwards of $1,000, DIY remains a highly economical choice.

Final Thoughts: The Intersection of Form and Function
Building a radiator cover is a transformative project. It represents the intersection of home maintenance and interior design. By taking the time to measure correctly, selecting the right materials for heat transfer, and ensuring that your design allows for proper airflow, you can turn an outdated, utilitarian relic into a sophisticated, safe, and functional asset for your home.
Whether you are seeking to protect your family or simply looking to refine your living room, the custom radiator cover stands as a testament to the idea that utility does not have to come at the expense of style. Start small, focus on the details, and you will find that your heating system can be one of the most stylish features in your home.
