

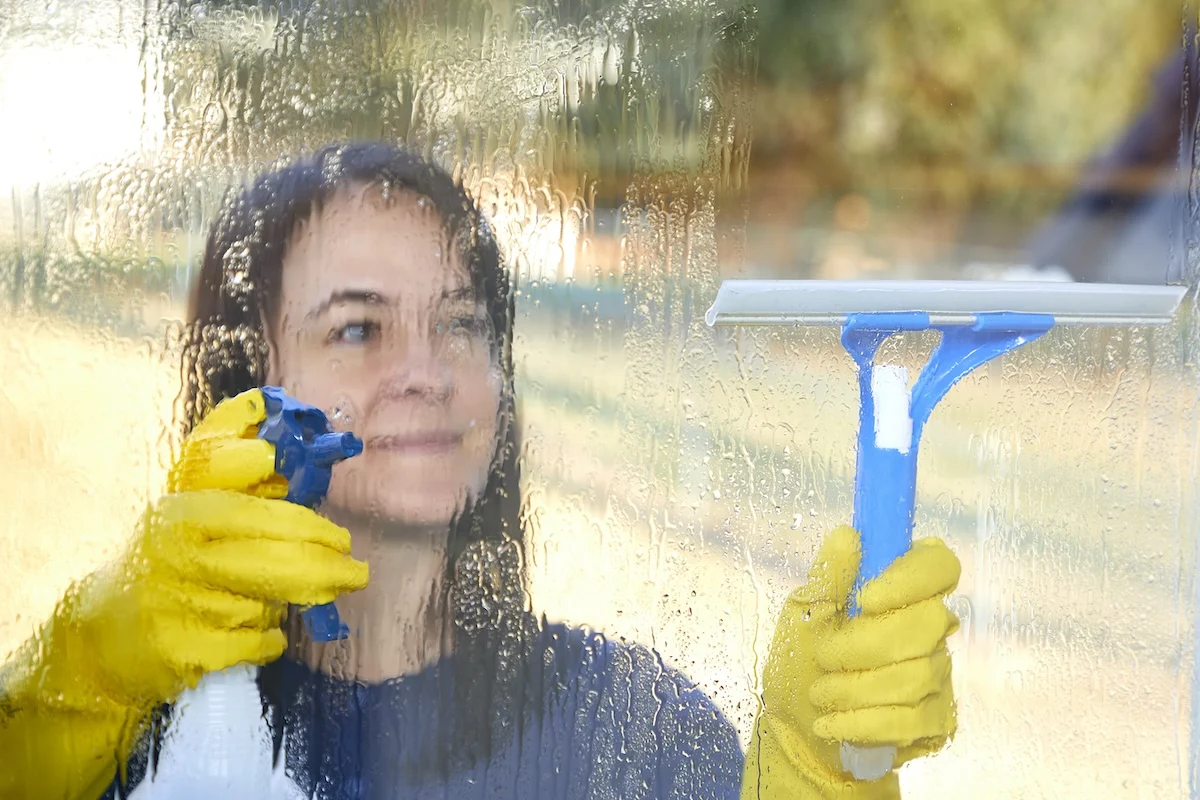
Dirty, streaky windows are more than just an eyesore; they diminish the natural light in your home and can detract from your property’s overall curb appeal. Despite being a relatively straightforward household task, window cleaning is frequently deferred, often because many homeowners dread the tedious process of buffing away the streaks left behind by subpar commercial products.
However, the secret to a streak-free, professional-grade finish doesn’t lie in the expensive, chemical-heavy bottles found in the cleaning aisle of your local supermarket. Instead, the most effective solution is likely already sitting in your kitchen pantry. By embracing a simple, cost-effective DIY approach, you can achieve pristine glass surfaces using only a handful of non-toxic, readily available ingredients.

The Case for Homemade Solutions: Main Facts
The primary issue with many conventional glass cleaners is their reliance on ammonia and synthetic surfactants. While these chemicals can cut through initial grime, they often leave behind a microscopic, waxy film. Over time, this residue attracts dust and moisture, necessitating more frequent cleaning and resulting in that frustrating, cloudy haze that appears when sunlight hits the glass.
By contrast, a vinegar-based homemade cleaner relies on acetic acid—a natural solvent—to break down grease and mineral deposits without leaving a sticky film. When paired with a small amount of liquid dish soap to emulsify oils and diluted with water, you create a balanced, effective, and environmentally friendly cleaning agent. Not only does this method save you money, but it also eliminates the risk of inhaling the harsh fumes associated with aerosol-based commercial sprays.

A Chronological Approach to Perfecting Your Windows
To achieve professional results, it is essential to follow a structured process. Cleaning is not just about the spray; it is about the technique and the timing.
Phase 1: Preparation and Tool Gathering
Before you mix your solution, gather your supplies. You will need:

- A clean spray bottle: Ensure it is rinsed thoroughly of any previous chemicals.
- Distilled white vinegar: The acidity is the "muscle" of your cleaner.
- Liquid dish soap: A grease-cutting formula is ideal.
- Warm water: Warmth aids in the activation of the surfactants in the soap.
- Microfiber cloths: Avoid paper towels, which can leave lint and fibers behind.
- A quality squeegee: Essential for larger surfaces to ensure a streak-free dry.
Phase 2: Mixing the Solution
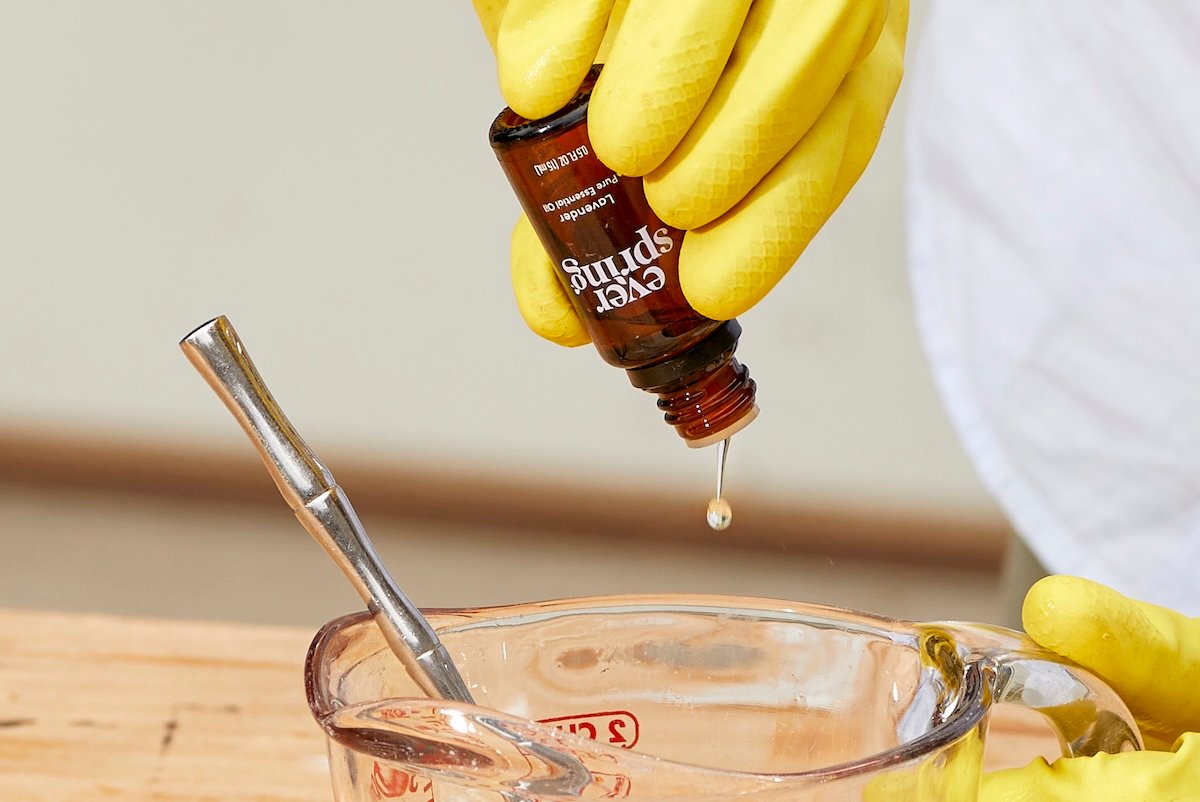
Combine ¼ cup of white vinegar with ½ teaspoon of liquid dish soap in your spray bottle. Fill the remainder of the bottle with 2 cups of warm water. If you prefer a more pleasant scent, add 10 to 15 drops of essential oil—such as lemon, tea tree, or lavender. Seal the bottle and shake gently to ensure the soap is fully integrated without creating excessive foam.
Phase 3: The Cleaning Process
- Dust First: Use a dry microfiber cloth to wipe down the window frame and the glass itself to remove loose dirt and cobwebs.
- The Application: Lightly mist the glass. Avoid oversaturating, as this leads to drips that can damage window sills or frames.
- The Wipe: Using a lint-free cloth, move in a consistent pattern (top to bottom).
- The Squeegee Finish: For the best results, use a squeegee in a single, smooth stroke from top to bottom. Wipe the squeegee blade with a clean cloth after every pass to prevent redepositing dirt.
Supporting Data: Why These Ingredients Work
The science behind this DIY mixture is straightforward. The acetic acid in vinegar works to dissolve mineral deposits and hard-water stains that accumulate on exterior windows due to rain and irrigation. Sodium lauryl sulfate, a common ingredient in liquid dish soap, acts as a surfactant that bonds with oils—like fingerprints and atmospheric soot—lifting them away from the glass surface so they can be easily wiped away.

Regarding essential oils, their role extends beyond fragrance. Oils like tea tree have documented antifungal and antibacterial properties, which can help inhibit mold and mildew growth in the rubber seals and tracks of your windows.
Expert Perspectives and Professional Insights
Industry experts emphasize that window maintenance involves more than just the glass. Michael Wandschneider, director of product management for Marvin, notes, "Don’t forget to inspect your window hardware. If your finishes have dulled, you can apply a coat of beeswax to preserve and restore them. Also, it’s never a bad idea to take the time to put dry lubricant on the gears of your windows to keep all components functioning smoothly for seasons to come."

Furthermore, professionals often warn against the common mistake of cleaning windows on a hot, sunny day. When the glass is hot, the cleaning solution evaporates too quickly, leading to "flash drying" that locks streaks onto the surface before you have a chance to wipe them away. The ideal time to clean is on a cloudy day or early in the morning when the glass temperature is cool.
Critical Safety Considerations
While homemade cleaners are generally safer than industrial alternatives, they are not without risks.
- The Golden Rule: Never mix vinegar with chlorine bleach. The combination produces toxic chlorine gas, which can cause severe respiratory distress and eye irritation.
- Sanitization Limits: While vinegar kills many household bacteria, it does not meet the EPA standards for hospital-grade disinfectants. If you are cleaning windows in an area where someone has been ill, use an appropriate EPA-registered disinfectant after your initial glass cleaning.
- Surface Sensitivity: While vinegar is safe for standard glass, avoid using it on natural stone surrounds (like marble or granite window sills), as the acid can etch and permanently damage the stone.
Implications for Your Home Environment
Switching to a DIY cleaner has significant long-term implications for your home. By removing the waxy residue left by commercial products, your windows will remain cleaner for longer. Furthermore, by avoiding ammonia-based products, you are protecting the integrity of window tints and plastic components that can degrade or discolor when exposed to harsh chemicals.
Additionally, this habit fosters a more sustainable lifestyle. By reusing your spray bottle and purchasing ingredients in bulk, you reduce your household’s plastic waste and chemical footprint.
Frequently Asked Questions (FAQ)
Q: Can I use rubbing alcohol instead of vinegar?
A: Yes. A mixture of 1 ½ cups of water, 1 ½ cups of rubbing alcohol, and 2 tablespoons of white vinegar creates a fast-evaporating solution that is excellent for glass, especially in colder weather.
Q: Why do my windows still look streaky?
A: If you are using a DIY cleaner and still seeing streaks, the culprit is likely the cloth you are using. Ensure you are using high-quality microfiber cloths that are free of fabric softener. Fabric softener leaves a waxy residue on the cloth that will transfer directly to your glass.

Q: How often should I deep clean windows?
A: A thorough cleaning should be performed at least twice a year—ideally in the spring and autumn. Regular, light maintenance once a month will make these deep-cleaning sessions much faster and less labor-intensive.
Conclusion: A Clearer Perspective
Cleaning your windows does not have to be a dreaded, monumental task. By simplifying your process and utilizing the natural cleaning power of white vinegar and dish soap, you can achieve a streak-free shine that enhances your home’s aesthetic and brightness. Start small—perhaps with one room at a time—and you will soon find that the effort required is minimal, while the visual reward is significant. With the right tools, a consistent technique, and a conscious effort to avoid harsh chemicals, you can ensure that your home remains a bright, welcoming space for all.
