

For many women entering their sixties and beyond, a mirror check often reveals a common, natural occurrence: the “hip dip.” This inward curvature at the side of the hip, situated between the pelvic bone and the thigh, has become a frequent topic of conversation in personal training studios across the UK.
It is a source of misunderstanding, with many women misinterpreting this anatomical feature as a sign of lost fitness or declining health. However, as someone who has spent nearly 40 years in the personal training industry—including co-founding the UK’s premier fitness education provider, TRAINFITNESS, in 1998—I have seen firsthand how this perception can be shifted through science-backed, targeted movement.
While bone structure dictates the fundamental architecture of your hips, the surrounding musculature is entirely malleable. By shifting focus away from traditional, generic movements like squats and toward precise, glute-strengthening exercises, women over 60 can achieve a firmer, more stable, and more confident silhouette.
The Anatomy of the Hip Dip: Fact vs. Fiction
To address the “hip dip,” we must first demystify what it actually is. The indentation is not a symptom of “letting oneself go,” nor is it a consequence of poor diet. In the vast majority of cases, it is a matter of pure skeletal anatomy. The dip is primarily defined by the width of the pelvis and the distance between the hip socket (the acetabulum) and the greater trochanter (the top of the thigh bone).

When these bones are spaced in a specific way, there is naturally less skeletal support for the overlying soft tissue. This creates an anatomical “valley.” Because this is determined by your genetics and skeletal frame, it is impossible to eliminate entirely through exercise or weight loss.
However, there is a secondary factor at play: the status of the gluteus medius and gluteus minimus. These are the muscles located on the lateral (side) aspect of the hip. When these muscles are underdeveloped, the dip appears more pronounced. By hypertrophy—or building—these specific muscles, you can effectively “fill in” the space, resulting in a smoother, firmer aesthetic.
Why Traditional Squats Fall Short
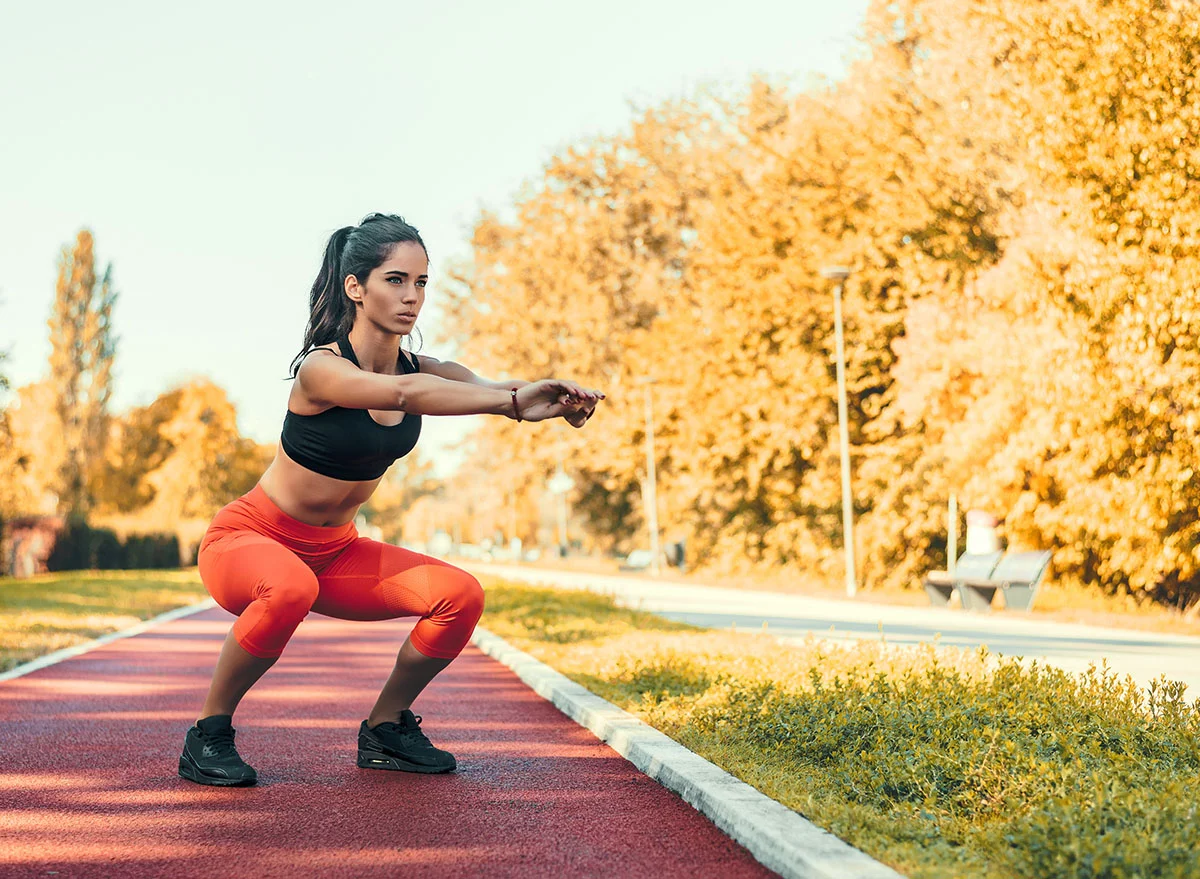
The squat is widely considered the “king of exercises” for general lower-body strength. It is excellent for the quadriceps, hamstrings, and the gluteus maximus (the largest muscle at the back of the hip). However, from a structural perspective, the squat is not the most efficient tool for addressing the side of the hip.
Squats operate primarily in the sagittal plane—moving forward and backward. The gluteus medius, however, is a stabilizer muscle that functions primarily in the frontal plane, moving the leg away from the body (abduction) or stabilizing the pelvis during a single-leg gait. Because a standard squat does not require significant abduction, the side glutes are often left undertrained.

To change the shape and firmness of the hip area, we must isolate these muscles. By employing movements that require lateral motion or pelvic rotation, we provide the specific mechanical stress required to signal muscle growth in the side glutes.
The Four Essential Moves for Hip Firmness
The following protocol requires zero equipment and can be performed comfortably at home. Consistency is the primary driver of success here; aim for three to four sessions per week to allow for adequate recovery.
1. Side-Lying Leg Raise
This is the gold standard for isolating the gluteus medius. By lying on your side, you remove the influence of gravity on the other muscles, forcing the side-glute to work against the weight of your own leg.
- The Technique: Lie on your side, legs stacked. Keep your hips aligned vertically—do not let your top hip roll backward. Slowly lift your top leg toward the ceiling, pause for a second at the top, and lower it with control.
- Common Pitfall: Using momentum. Avoid swinging the leg. The muscle is worked most effectively during the "eccentric" phase—the slow lowering of the leg.
2. The Clamshell
The clamshell is a functional, joint-friendly movement that targets the deep lateral rotators and the gluteus medius simultaneously.
- The Technique: Lie on your side with knees bent at a 45-degree angle. Keep your feet touching. Open your top knee like a clamshell, ensuring your pelvis remains perfectly still. Squeeze the side glute at the peak of the movement.
- Why it works: It forces activation without placing heavy compression on the knee or hip joints, making it ideal for those with joint sensitivities.
3. Standing Hip Abduction
Transitioning to a standing position adds a balance component, which is crucial for functional longevity after 60.
- The Technique: Stand behind a sturdy chair or counter for support. Keep your torso upright and your core engaged. Slowly lift one leg out to the side, keeping the toes pointing forward. Return to the starting position without letting the leg touch the floor if possible.
- The Benefit: This mirrors the biomechanics of walking, helping to stabilize the pelvis during everyday movement.
4. Standing Glute Kickback
While this targets the gluteus maximus, it is essential for the overall "fullness" of the hip. A rounder back glute complements the side-glute work, creating a balanced, athletic aesthetic.
- The Technique: Lean slightly forward, holding a chair. Extend one leg straight back behind you, squeezing the glute at the top of the movement. Ensure you do not arch your lower back.
- The Benefit: This improves posterior chain strength, which is vital for posture and spinal health.
The Timeline of Transformation
Managing expectations is a key part of any fitness journey. If you follow this regimen consistently, here is the chronological breakdown of what you can expect:
- Weeks 1–4: Neuromuscular Adaptation. You will likely notice an increase in stability during daily activities like walking or climbing stairs. The “mind-muscle connection” will improve, meaning you will feel the side glutes engaging more effectively.
- Weeks 5–8: Increased Tone. You will start to feel a subtle firmness around the hip area. Soreness should have subsided as the muscle fibers become accustomed to the load.
- Weeks 8–12: Visible Reshaping. This is the window where you will notice the most significant change. As the gluteus medius and minimus grow, the dip will appear shallower, and the hip area will look more contoured.
Implications for Longevity
It is important to emphasize that while we are discussing the appearance of hip dips, the health implications are far more profound. Strengthening the hip abductors is one of the most effective ways to prevent falls and maintain gait stability in later life.

Many women over 60 experience a shift in their center of gravity, often leading to a wider, more unstable stride. By strengthening the side glutes, you are effectively "locking" the pelvis in place, which reduces the strain on the lower back and knees.
Ultimately, the goal is not to conform to a specific aesthetic standard, but to build a body that feels capable and strong. A hip dip is a feature of your unique anatomy, not a flaw. By strengthening the musculature around it, you are simply polishing the architecture you were born with, ensuring that you remain active, stable, and confident for decades to come.
Remember: no single exercise can spot-reduce fat. Pair these movements with a healthy, protein-rich diet and consistent daily movement, such as walking. When you combine targeted resistance training with an active lifestyle, you aren’t just changing your shape—you are investing in your long-term mobility and vitality.
