

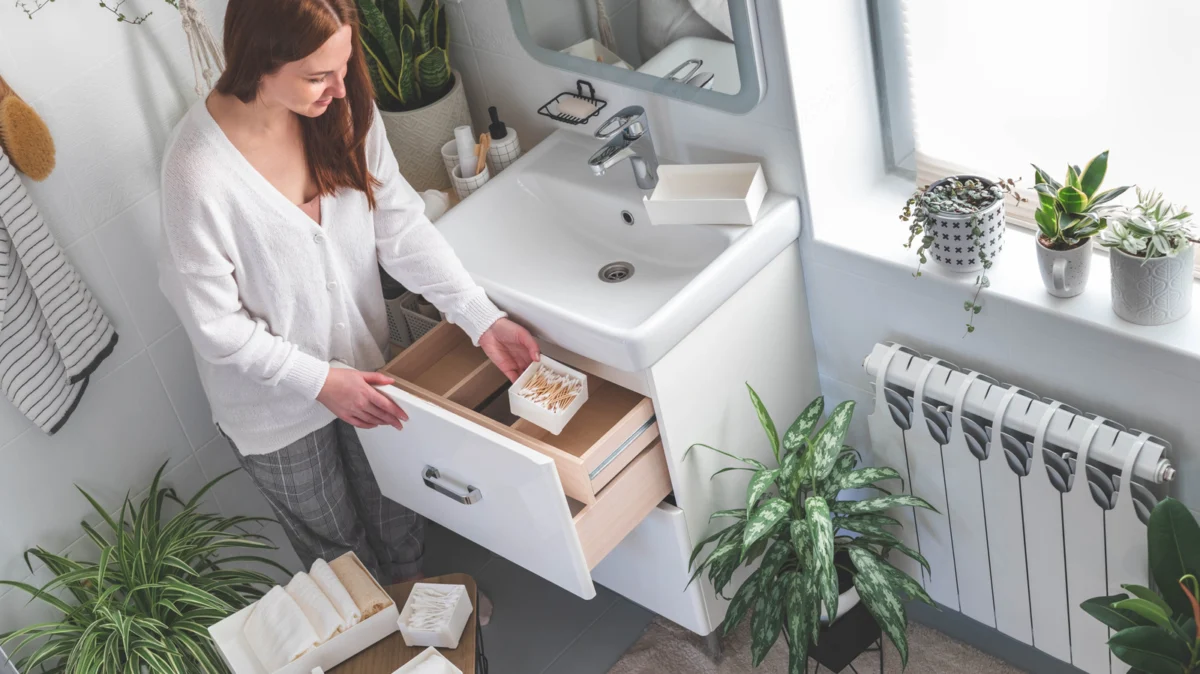
Bathroom clutter is more than just an aesthetic nuisance; it is a source of daily friction. Whether you are navigating a cramped apartment vanity or trying to maintain order in a shared family bathroom, the struggle to keep cosmetics, dental hygiene products, and grooming essentials accessible yet tidy is a universal challenge. While high-end retailers offer a plethora of storage solutions, they often come with a premium price tag that does not always reflect the quality of the materials.
Enter the world of "DIY Luxe"—a movement that leverages accessible materials from retailers like Dollar Tree to create high-end, functional home decor. A viral project from DIY with Vera has recently captured the attention of home organization enthusiasts, demonstrating how simple wooden trays and dowels can be transformed into a sophisticated, three-tier countertop organizer.
The Core Concept: Turning Pennies into Professional Organization
The project centers on the modular utility of "Crafter’s Square" wooden trays and matching dowels. By stacking three trays in a tiered configuration, the organizer creates vertical storage—a fundamental principle in interior design for small spaces.
The Essential Components
- Three Wooden Trays: Lightweight and versatile, these serve as the foundation for the tiers.
- Four Wooden Dowels: These act as the structural pillars, providing stability and height.
- Decorative Paper or Napkins: This is where the personalization occurs. By using patterned napkins or scrapbook paper, you can match your bathroom’s specific color palette or design theme.
- Adhesive and Sealant: A combination of Mod Podge (for decoupage) and a robust structural adhesive like E6000 is recommended for a long-lasting finish.
Chronology of Construction: A Step-by-Step Methodology
Transforming raw craft supplies into a functional piece of furniture requires precision and patience. Below is the systematic approach to building your organizer.
Phase 1: Preparation and Surface Treatment
Before assembly, every component must be prepped. Begin by selecting your decorative paper. If using patterned napkins, it is crucial to peel away the excess ply until you are left with only the thin, printed layer. Apply a thin, even coat of Mod Podge to the outer edges of your wooden trays and the length of your four dowels. Carefully lay the paper over the surfaces, smoothing it out with a soft brush or a dry cloth to prevent air bubbles. Once dry, use a fine-grit nail file to sand away the excess paper at the corners, ensuring a clean, flush edge.
Phase 2: Structural Assembly
With the decorative elements secured, it is time for assembly. This is the most critical phase for stability. While hot glue is convenient, for a more permanent solution, experts suggest using E6000. Start by attaching the dowels to the bottom tray. Use a ruler to measure the spacing between the legs to ensure the structure is symmetrical. Carefully align the middle tray and repeat the process, followed by the top tray.
Pro-tip: Allow each tier to cure for at least 24 hours before adding weight. This ensures that the chemical bond of the adhesive is fully set, preventing the structure from wobbling.
Phase 3: Finishing Touches
To protect the wood from the inevitable moisture of a bathroom environment, apply an additional thin layer of sealant over the decoupage. Once the piece is fully cured, consider adding a protective shelf liner to the base of each tray. This not only prevents small items from slipping but also protects the wood from spills, makeup stains, or water damage.
Supporting Data: Why Vertical Organization Wins
The popularity of this DIY project is backed by spatial efficiency research. In interior design, "verticality" is the primary weapon against the "clutter creep" that occurs on bathroom vanities.
The Psychology of Clutter
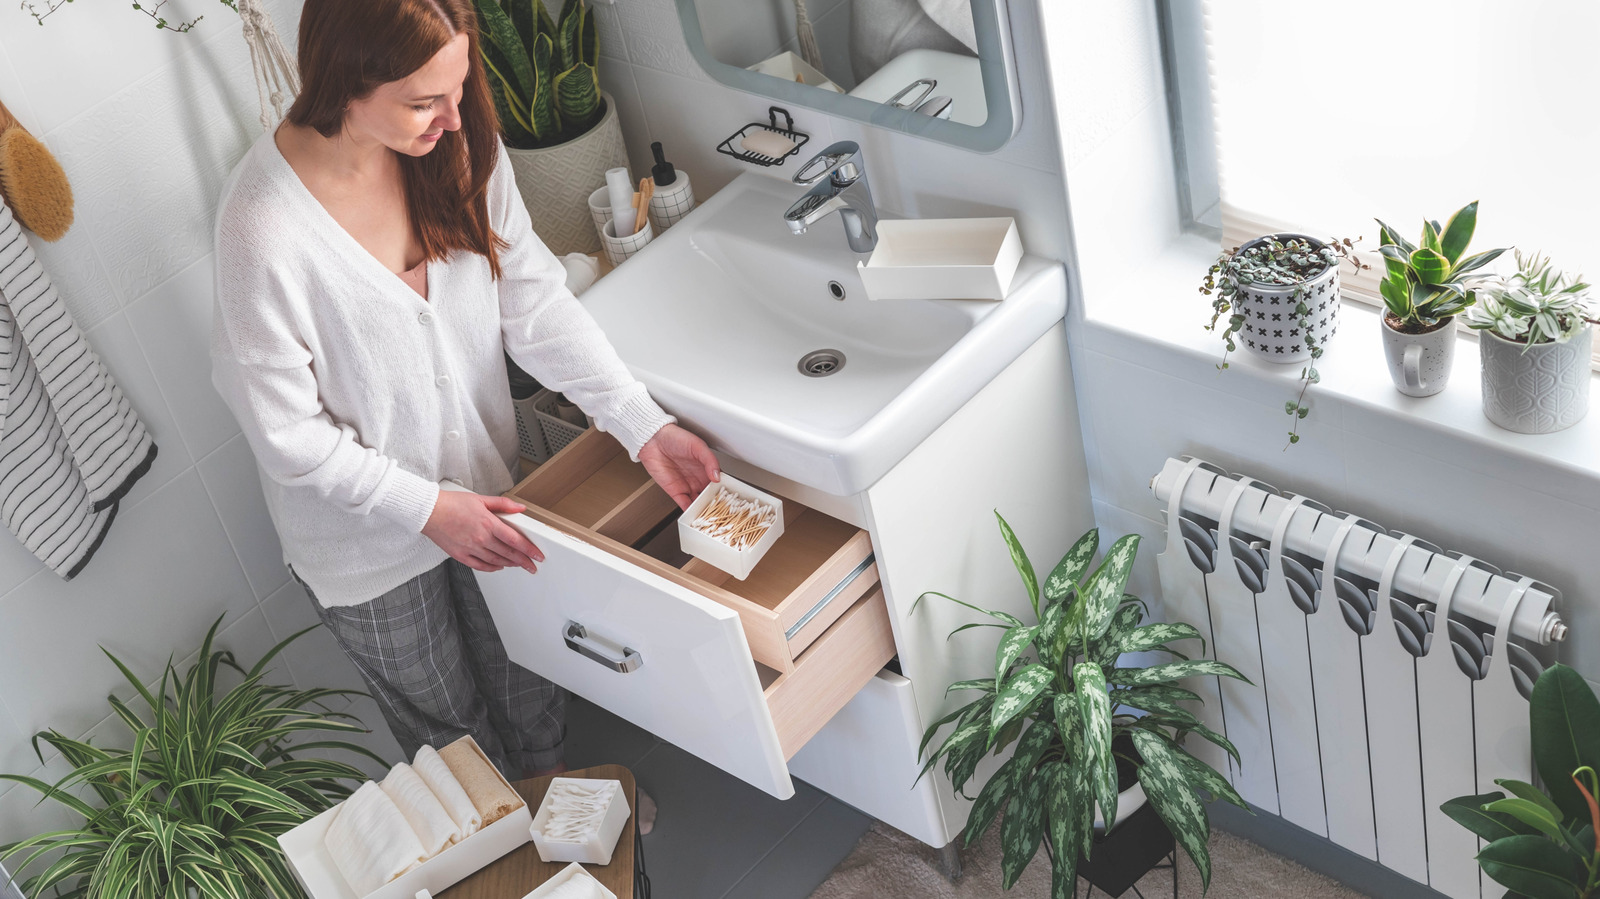
Studies have shown that visual clutter contributes to higher cortisol levels—the body’s primary stress hormone. By clearing the "countertop real estate," users create a sense of calm. A 3-tier organizer reduces the footprint of items by 66% compared to placing the same items flat on a surface.
Cost-Efficiency Analysis
Purchasing a comparable three-tier wooden organizer from high-end boutiques can cost anywhere from $40 to $120. By sourcing materials from a budget retailer, the total cost of this project remains under $15. When factoring in the ability to customize the finish to match existing decor—such as painting the wood or using specific patterns—the value proposition of the DIY approach far outweighs the convenience of store-bought alternatives.
Implications for Modern Interior Design
The rise of the "Dollar Tree DIY" trend signals a broader shift in consumer behavior. Modern homeowners are increasingly prioritizing sustainability and personal expression over mass-produced convenience.
The Sustainability Angle
Upcycling inexpensive wood items is inherently more sustainable than purchasing plastic organizers. Plastic storage bins are often non-recyclable due to the mixing of materials and the chemical treatments used in their production. By contrast, using wood-based products and biodegradable paper for decoupage reduces the environmental footprint of your home organization efforts.
The "High-Low" Design Aesthetic
This project embodies the "high-low" design philosophy, which emphasizes mixing expensive design elements with budget-friendly finds. An organizer customized with a high-quality floral print or a minimalist geometric pattern can look indistinguishable from pieces sold at high-end furniture retailers. The implication is clear: luxury in home design is increasingly defined by craftsmanship and intent rather than the brand name on the label.
Expert Commentary and Professional Tips
While the project is accessible to beginners, industry professionals offer several tips to ensure the final product looks like a professional installation rather than a weekend craft experiment.
- Structural Integrity: "The biggest mistake DIYers make is relying on hot glue for weight-bearing components," says interior stylist Sarah Jenkins. "Hot glue provides an immediate bond, but it is prone to failing in the humid environment of a bathroom. Always pair it with a structural, waterproof adhesive like E6000 or a high-quality wood glue."
- Material Selection: When choosing paper for your trays, consider the humidity levels of your bathroom. If your bathroom lacks a high-powered ventilation fan, ensure your sealant is water-resistant. Multiple thin coats of a high-quality acrylic sealer will provide a better barrier against moisture than one thick coat.
- Scale and Proportion: If you are building this for a smaller pedestal sink, consider sizing down your dowels. If your vanity is expansive, you can easily use six dowels instead of four to create a wider, more stable rectangular tray structure.
Conclusion: A Blueprint for Better Living
Organizing a bathroom does not require a complete renovation or an expensive shopping spree. By leveraging the principles of vertical storage and the creative potential of budget-friendly materials, you can create a functional, chic, and personalized storage system.
The 3-tier bathroom organizer serves as a testament to the fact that home improvement is often more about imagination than budget. By dedicating a few hours to this project, you not only reclaim your countertop space but also infuse your personal sanctuary with a design element that is uniquely yours. As you transition your cosmetics, washcloths, and accessories to their new home, you will find that the real luxury isn’t in the price of the organizer—it is in the peace of mind that comes with a clutter-free space.
