

As the mercury drops and the frost settles on windowpanes, homeowners across the country face a recurring, costly battle: keeping the interior warm without breaking the bank. While many attribute rising energy bills solely to the age of their heating system or the inefficiency of their thermostat settings, the true culprit is often a silent, invisible process known as heat exfiltration.
When your home is improperly sealed or insulated, it acts like a sieve, allowing precious, paid-for heat to escape into the ether while simultaneously inviting biting cold air inside. Addressing these "energy leaks" is not merely a matter of comfort; it is an essential aspect of home maintenance that preserves your property’s structural integrity and ensures financial prudence.
The Science of Heat Loss: Why Your Home Is Losing Energy
Heat naturally moves from warmer areas to cooler areas. In the winter, your home is a high-pressure zone of warmth, while the exterior environment is a low-pressure zone of cold. This creates a constant, relentless drive for heat to migrate outward.
According to building science experts, the primary pathways for this loss are convection, conduction, and radiation. Convection—the movement of air—is the most significant contributor. Gaps around windows, doors, electrical outlets, and unsealed attics act as highways for conditioned air to escape. If you live in an older property that hasn’t seen an insulation upgrade in decades, your home is likely losing a significant percentage of its thermal efficiency through these "leaky" envelopes.
Diagnostic Methodology: How to Locate Your Home’s Weak Points
Identifying these hidden cold spots does not require a degree in engineering. Professionals and savvy homeowners alike rely on a series of diagnostic tests to pinpoint exactly where thermal energy is hemorrhaging.
1. The Visual Inspection: Scouting for Structural Decay
The first line of defense is a thorough, systematic visual audit. James Medina, an HVACR instructor at the Universal Technical Institute, emphasizes that this is the most cost-effective starting point.
"Simply check around doors and windows for any openings where the air and heat would be able to escape," Medina advises. During your inspection, pay close attention to wooden frames. Over time, wood can succumb to rot, moisture damage, or simple warping, creating gaps that weatherstripping can no longer bridge. Furthermore, look for cracked caulking, gaps around utility penetrations (where pipes or wiring enter the home), and any signs of insulation settling in crawl spaces or attics.
2. The Tactile "Touch Test"
When the temperature differential is at its peak—typically on a very cold day—your sense of touch becomes a diagnostic tool. By walking the perimeter of your home while your furnace is running, you can often feel the pressure of escaping air.
Focus your attention on the transition points between different building materials: where the wall meets the floor, the frames of windows, and the edges of doors. If an area feels significantly colder than the surrounding wall, you have likely found a thermal bridge or an air leak. Be particularly mindful of recessed lighting fixtures and electrical outlets on exterior walls, which are notorious for harboring drafts.
3. The Smoke Test: Visualizing Airflow
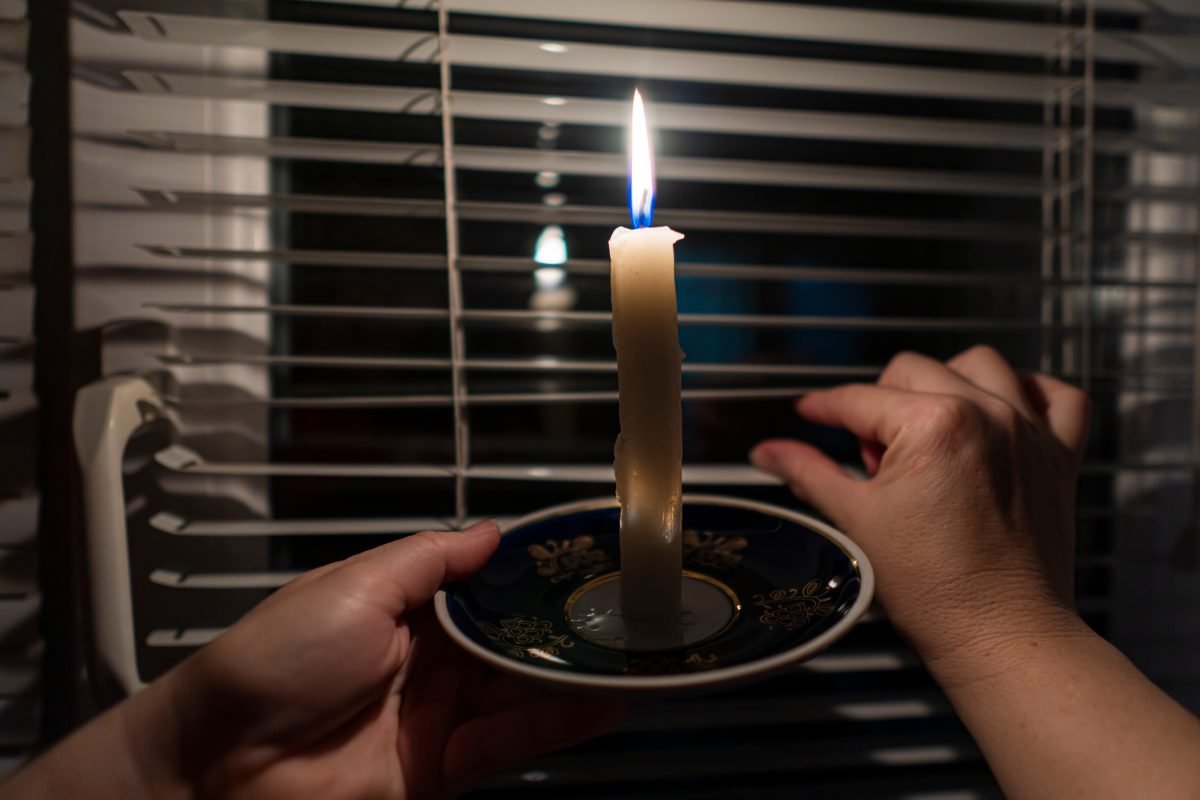
For those who prefer a more visual confirmation, the smoke test is a classic, highly effective method. By holding a lit candle, incense stick, or a smoke pencil near the perimeter of closed windows and doors, you can observe the movement of air in real-time.
"Walk around the interior of the residence that borders an unconditioned space, such as the outside or the garage," says Medina. "Watch for places where the smoke pulls toward cracks or penetrations. This is a clear indication that air is leaving the conditioned space, carrying your expensive heat out with it."
4. The Snow Test: Analyzing Roof Performance
Perhaps the most insightful diagnostic tool requires no equipment at all—just a look at your roof after a light dusting of snow. Kevin Bohnet, HVAC program director at Fortis College, explains the logic: "Check whether you have less frost or light snow on your roof compared to your neighbors. If your attic is not insulated well, heat will penetrate through and warm the inside of the attic, causing the frost or light snow to melt. This is a definite sign of significant heat loss."
A roof that melts snow unevenly indicates that heat is leaking from your living space into the attic, which is not only wasting energy but can also lead to the formation of dangerous ice dams along the eaves.
5. Thermal Imaging: The Gold Standard of Diagnostics
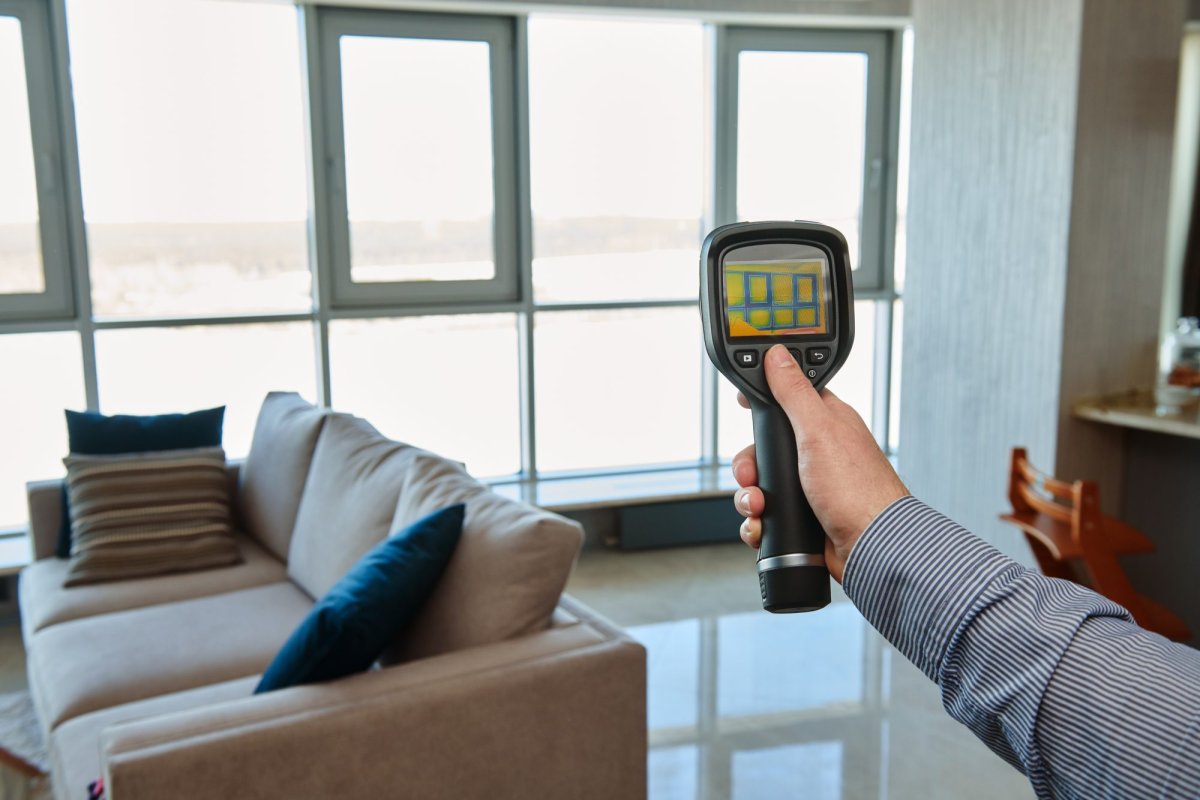
For homeowners seeking precision, the thermal imaging camera is the pinnacle of diagnostic technology. These devices convert infrared energy—heat—into a visible spectrum, allowing you to see "hot" and "cold" zones on your walls, ceilings, and floors.
"It works because most objects give off infrared energy," explains Medina. "It’s best to conduct this test on a cold day and turn the heat up inside the house so there is a big thermal contrast between the indoors and outdoors."
When choosing a device, the TopDon TC005 Thermal Camera has emerged as a leader in the field. Capable of measuring temperatures from -4 to +1022 degrees Fahrenheit, it provides the granularity needed to see behind walls and identify missing insulation or thermal bridging.
Chronology of Home Efficiency: A Strategic Approach
Addressing heat loss should follow a logical, phased approach to ensure that your time and money are spent effectively:
- Phase 1: The Audit (Early Autumn): Before the first hard frost, conduct your visual, touch, and smoke tests. Identify the "low-hanging fruit"—the gaps that are easy to seal.
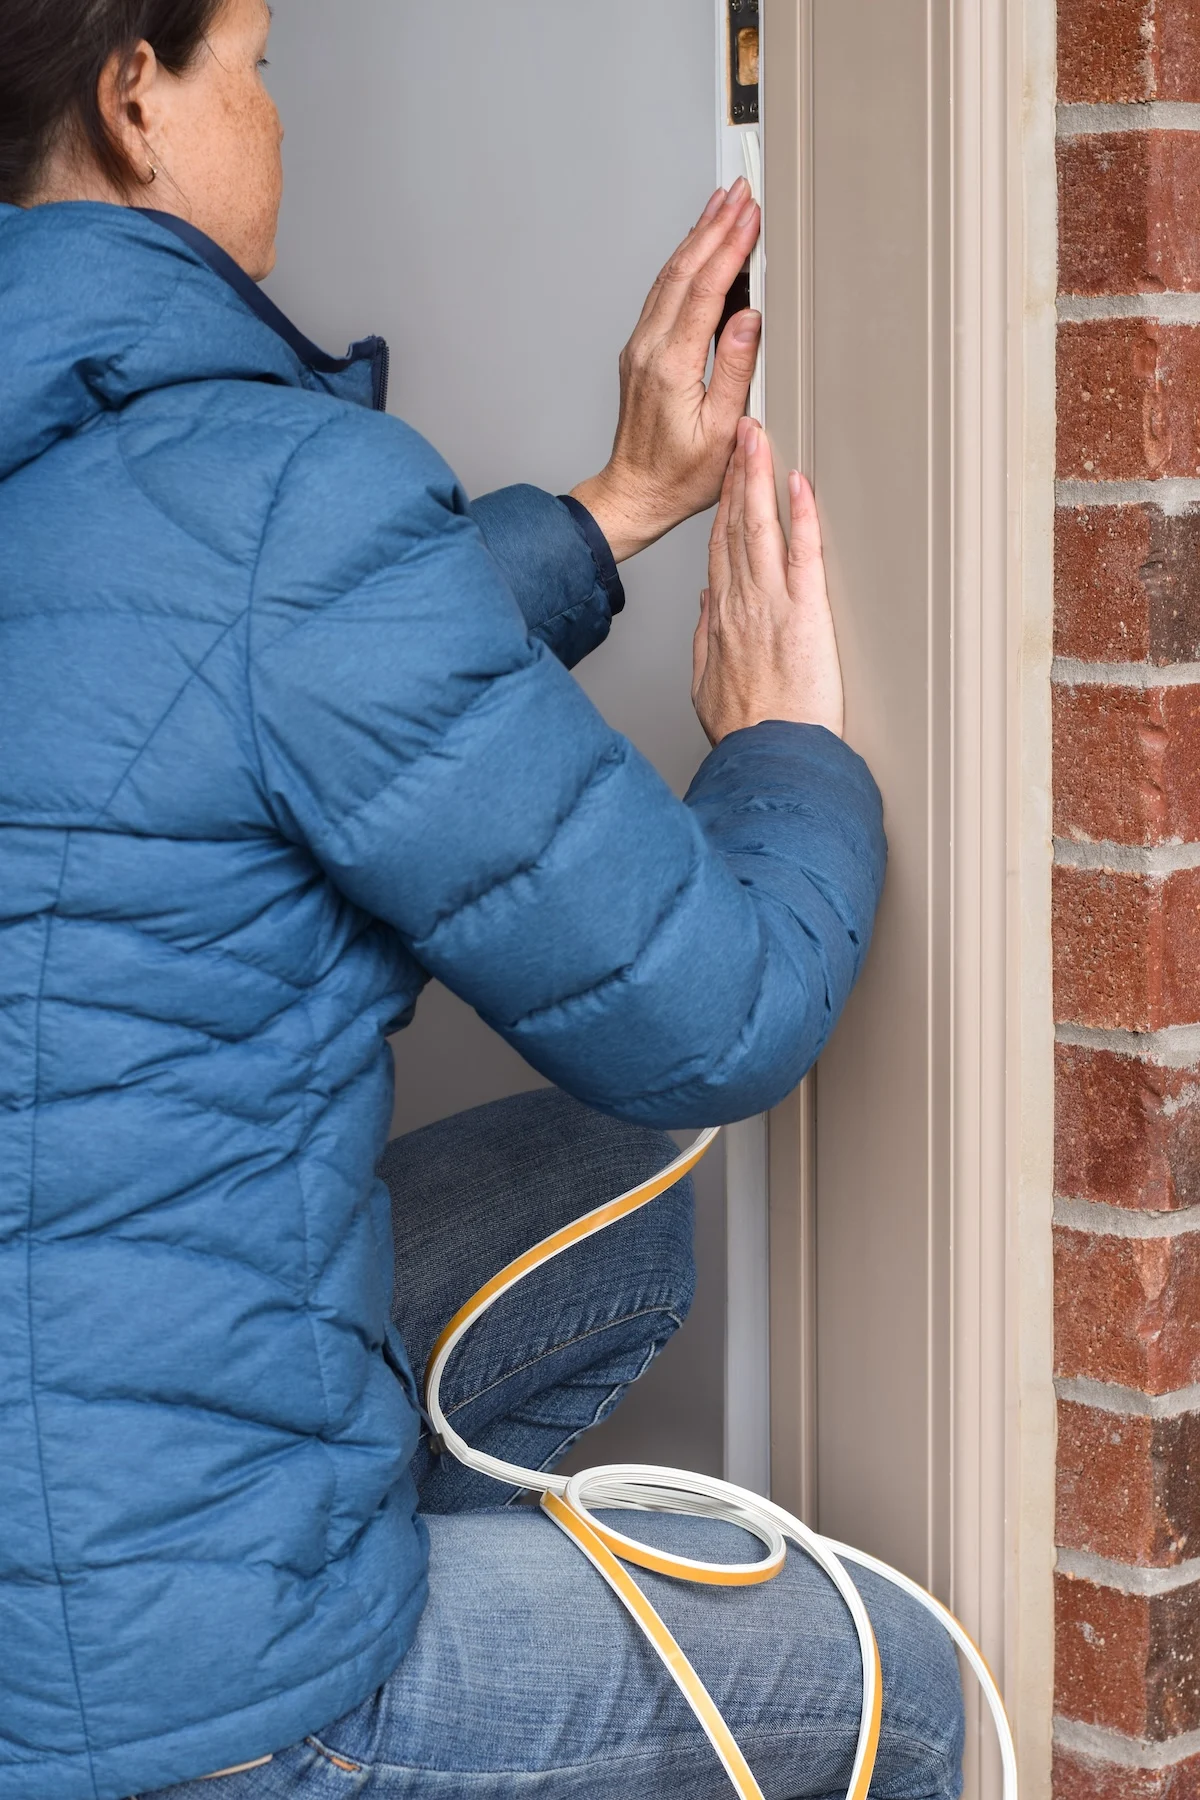
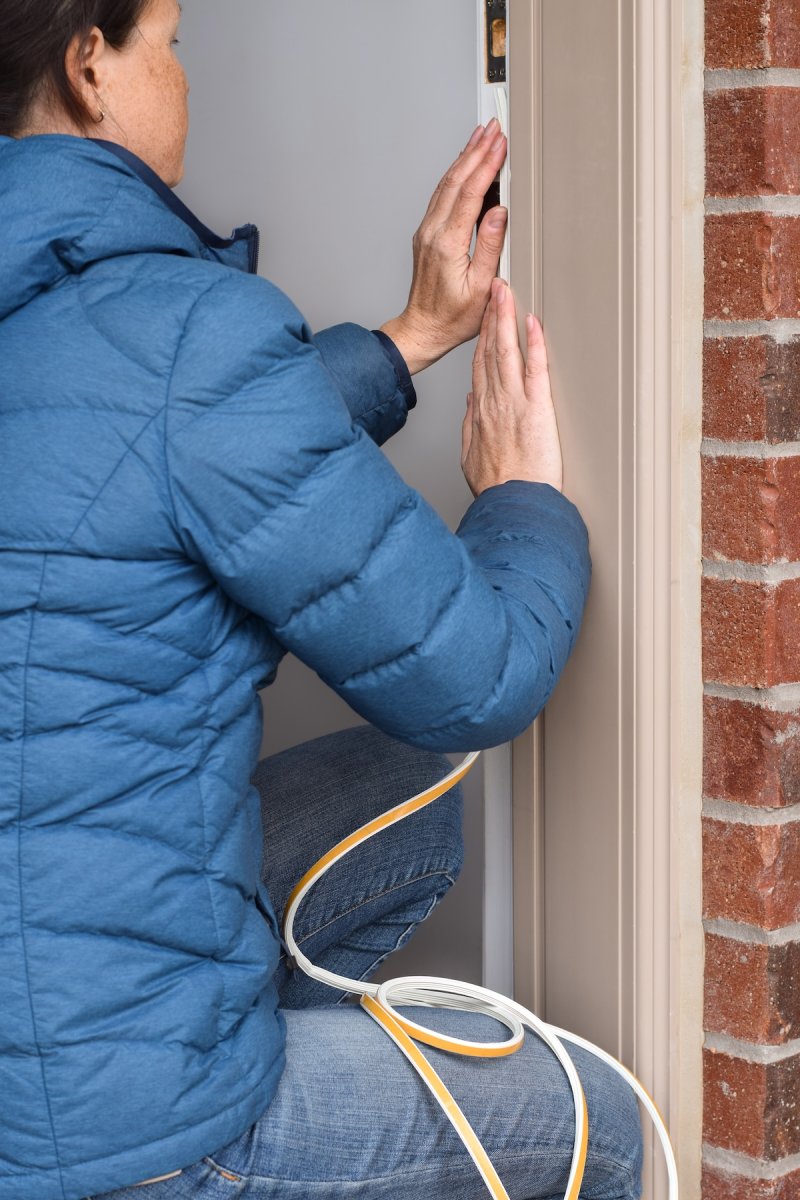
- Phase 2: The Remediation (Mid-Autumn): Apply caulk to window frames, install new weatherstripping on doors, and use expanding foam to fill gaps around plumbing and electrical penetrations.
- Phase 3: Deep Insulation (Late Autumn): Focus on the attic. As Bohnet suggests, check your insulation levels. If your R-value—the measure of an insulation’s resistance to heat flow—is insufficient for your climate, upgrading this will yield the highest return on investment.
- Phase 4: Monitoring (Winter): Use your thermal camera throughout the winter to ensure your repairs are holding and to identify any new leaks that may have developed due to the house settling or material contraction.
Implications of Neglect: The Financial and Structural Cost
Ignoring home energy loss carries implications that extend far beyond a high monthly utility bill.
Economic Impact: The most immediate implication is financial. When you heat your home, you are essentially paying to keep the outdoors warm. In a poorly insulated home, your HVAC system must run longer and cycle more frequently to maintain a consistent temperature. This leads to increased wear and tear on the system, potentially resulting in premature failure and expensive repair bills.
Structural Integrity: Heat loss is often accompanied by moisture migration. When warm, humid indoor air escapes through small cracks and meets the cold air of the outdoors or the attic, it can condense. This trapped moisture provides a breeding ground for mold and can cause wood rot, compromising the structural integrity of your home over time.
Health and Comfort: Drafts are the primary cause of uneven heating. If you have "cold rooms" or floors that are consistently freezing, it is a symptom of an envelope that is failing. Addressing these issues creates a uniform thermal environment, significantly improving the health and comfort of your household.
Expert Recommendations for Long-Term Efficiency
While DIY fixes like caulking and weatherstripping are essential, they are often insufficient for older homes with significant structural issues. If your audit reveals widespread heat loss, it may be time to consult with a professional energy auditor.
Professional auditors utilize advanced tools like "blower door" tests, which depressurize your home to identify even the most microscopic leaks. They can provide a comprehensive roadmap for efficiency upgrades, which might include:
- Attic Insulation Upgrades: Ensuring the R-value meets current Department of Energy standards for your region.
- Window Replacement: If frames are decayed or glass is single-paned, modern double or triple-pane windows are an investment that pays for itself in thermal retention.
- HVAC Duct Sealing: Often, heat loss isn’t just in the walls, but in the ductwork itself. If your ducts are leaky, you are losing conditioned air before it ever reaches the rooms you intend to heat.
Conclusion
The quest for a comfortable, energy-efficient home is a journey of constant maintenance. By moving away from guesswork and utilizing the diagnostic tools available—from simple candles and incense to sophisticated thermal cameras—you can take control of your home’s thermal performance.
As winter approaches, remember that the most effective way to lower your heating bill is not by turning the heat down, but by keeping it inside. A well-sealed home is a protected home, one that will offer you warmth, security, and savings for years to come. Start your audit today, identify the leaks, and take the necessary steps to fortify your sanctuary against the winter chill.
