

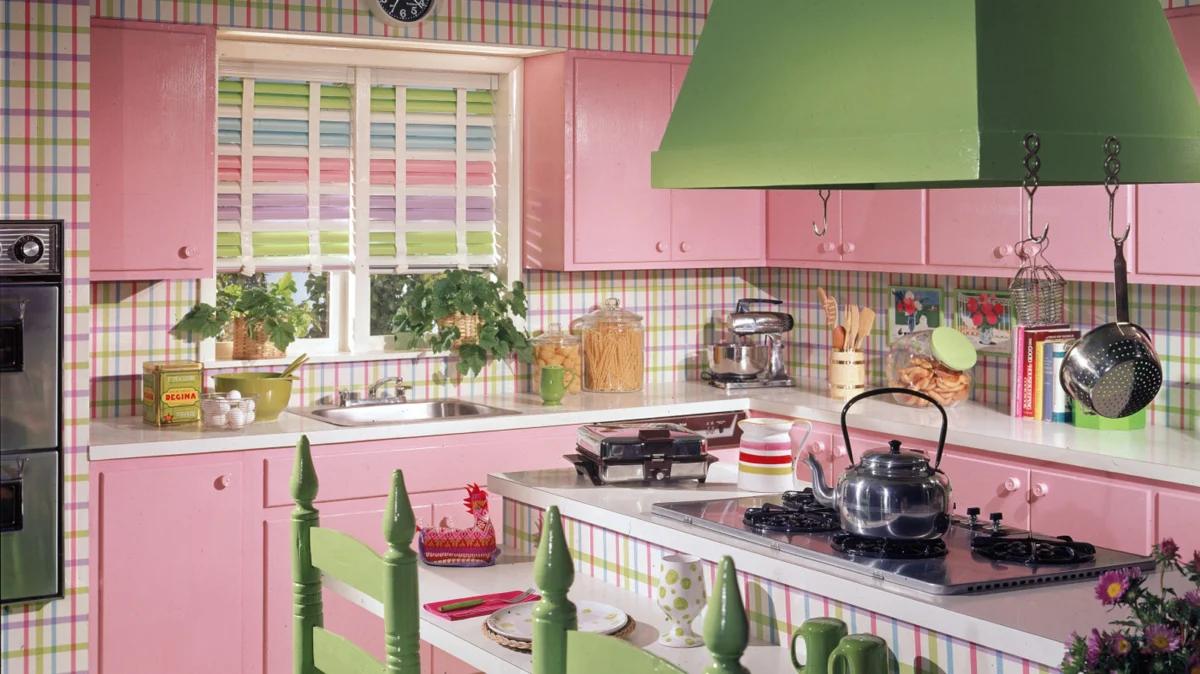
The kitchen is widely considered the heart of the home, yet it is also the room most susceptible to stylistic fatigue. When homeowners tire of dated finishes or colors that no longer align with current design trends, the traditional remedy has almost exclusively been a full cabinet replacement or a labor-intensive paint job. However, a modern, non-invasive alternative is gaining significant traction: vinyl adhesive film wrapping.
As interior design pivots toward sustainability and cost-effectiveness, vinyl wrapping offers a compelling solution for those looking to modernize their kitchens without the structural commitment of a complete renovation. By applying high-quality adhesive films over existing cabinetry, homeowners can achieve a professional, durable finish that mimics wood, matte colors, or even metallic textures—all without the volatile organic compounds (VOCs) and long drying times associated with paint.
The Core Mechanics of Vinyl Wrapping
At its most basic level, vinyl wrapping involves the application of a high-grade, adhesive-backed PVC film directly onto existing cabinet faces, drawer fronts, and side panels. Unlike paint, which requires sanding, priming, and multiple curing stages, vinyl provides an "instant" transformation.
These films come in an array of aesthetics, including realistic wood grains that replicate the warmth of oak or walnut, solid matte colors that provide a modern minimalist look, and high-gloss finishes that brighten dark spaces. Because the application is a physical layer rather than a chemical one, the transition from an outdated 1980s oak kitchen to a contemporary, sleek aesthetic can be accomplished in a fraction of the time required for traditional painting.
Chronology of a DIY Transformation
For homeowners considering a weekend renovation, the process is systematic and requires a high degree of precision.
Phase 1: Preparation and Degreasing
The success of a vinyl wrap is entirely dependent on the quality of the surface preparation. The first step involves removing all hardware—knobs, pulls, and hinges—and detaching the doors and drawer fronts from the cabinet boxes. Once removed, the surfaces must be meticulously cleaned with a heavy-duty household degreaser. Even microscopic amounts of kitchen grease will prevent the adhesive from bonding correctly, leading to premature lifting or bubbling.
Phase 2: Measurement and Application
Once the surface is clean and dry, the vinyl is measured and cut to size, with a necessary margin of excess material left on all sides to allow for folding over the edges. Using a felt-covered squeegee, the installer peels the backing away gradually, pressing the vinyl onto the cabinet surface. The felt squeegee is critical here; it provides the necessary pressure to secure the bond without scratching or marring the finish of the film.
Phase 3: The Heat-Setting Process
Corners and complex contours—such as recessed panels—require the use of a heat gun. Heat makes the vinyl pliable, allowing it to stretch and mold around corners without snapping. This is the stage where most DIYers encounter difficulty, as excessive heat can stretch the vinyl to the point of distortion, while insufficient heat will leave bulky, unsightly seams at the corners.
Supporting Data: Why It’s a Practical Alternative
While the aesthetic benefits are clear, the practical advantages are what drive many homeowners to choose wrapping over painting.
- Time Efficiency: A professional paint job, including sanding, priming, and waiting for multiple coats to cure, can render a kitchen unusable for a week or more. Vinyl wrapping, by contrast, can often be completed in 48 to 72 hours, with no "curing" time required.
- Minimal Environmental Impact: Traditional cabinet painting involves the release of fumes from paints and primers. Vinyl wrapping eliminates the need for chemicals, brushes, and rollers, making it a "cleaner" process for the indoor environment.
- Reversibility Considerations: While often marketed as "removable," it is important to understand that vinyl adhesive bonds more tightly over time. On certain substrates, such as older wood or previously painted surfaces, the removal process can cause damage. It is essential to perform a patch test in an inconspicuous area before committing to the entire kitchen.
The Limitations: When Wrapping Isn’t the Answer
Despite the advantages, experts caution that vinyl is not a "magic bullet" for all cabinetry woes. It is a purely cosmetic update. If the structural integrity of the kitchen is failing, no amount of vinyl will fix it.
The "Underlying Condition" Problem
Vinyl wrap will not disguise swollen particleboard, peeling laminate, or deep scratches in the wood. Because the film is thin and flexible, it acts as a mirror to the surface underneath. If a cabinet door is warped or has a rough, uneven texture, the vinyl will highlight these imperfections rather than hide them.
The Complexity of Door Profiles
Flat-front or "Shaker-style" doors are the ideal candidates for vinyl wrapping. However, doors with intricate molding, deep grooves, or ornate carvings are notoriously difficult to wrap. These features create complex geometries that are difficult to cover without creating visible seams, air bubbles, or awkward folds. For kitchens with highly detailed cabinetry, the labor-to-reward ratio often shifts in favor of traditional painting or professional refinishing.
Official Perspectives and Professional Advice
Industry professionals suggest that homeowners should view vinyl as a mid-term solution rather than a permanent one. When evaluating the cost-effectiveness, one must factor in the "error rate." Because the material is unforgiving once the adhesive makes contact, it is standard practice to purchase 15–20% more material than the square footage of the cabinets requires to account for miscuts or mistakes during the folding process.
Furthermore, those living in rented accommodations must proceed with caution. Even though the product is technically an "adhesive film," landlords may view the modification as a permanent alteration. It is advised to secure written consent from property management before beginning any wrapping project.
Long-Term Implications: Maintenance and Durability
Choosing the right product is essential. Not all vinyl is created equal; inexpensive, craft-grade vinyl will quickly succumb to the high-heat, high-moisture environment of a kitchen. Professional-grade architectural vinyl is designed to withstand the specific rigors of a cooking space, including heat from the stove and steam from the dishwasher.
Maintenance requires a shift in habits. While a painted surface might be touched up with a small brush if chipped, a damaged section of vinyl is difficult to repair invisibly. If a section of the wrap tears or lifts, the entire door or drawer front often requires re-wrapping to achieve a seamless look.
Conclusion: A Balanced Approach
For the homeowner with steady hands, a patient demeanor, and a desire to update a kitchen that is structurally sound but aesthetically dated, vinyl wrapping is a transformative tool. It offers a level of design versatility that paint simply cannot match—allowing for wood-grain finishes or modern textures that would require expensive custom woodwork otherwise.
However, it is not a shortcut for the impatient. It requires meticulous preparation, the right tools, and an honest assessment of the cabinet’s current condition. When executed with precision, it offers a high-impact, low-mess path to a refreshed kitchen that feels brand new, proving that sometimes, the best way to change the look of your home is not by painting over the past, but by wrapping it in a new layer of possibilities.
