

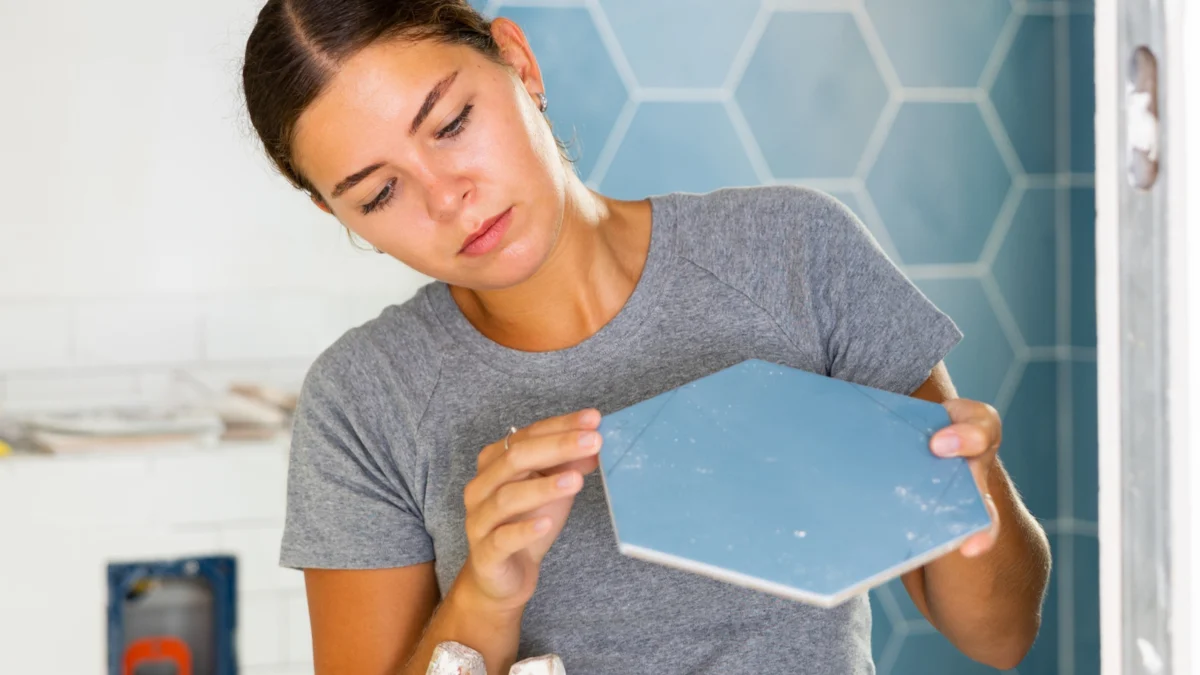
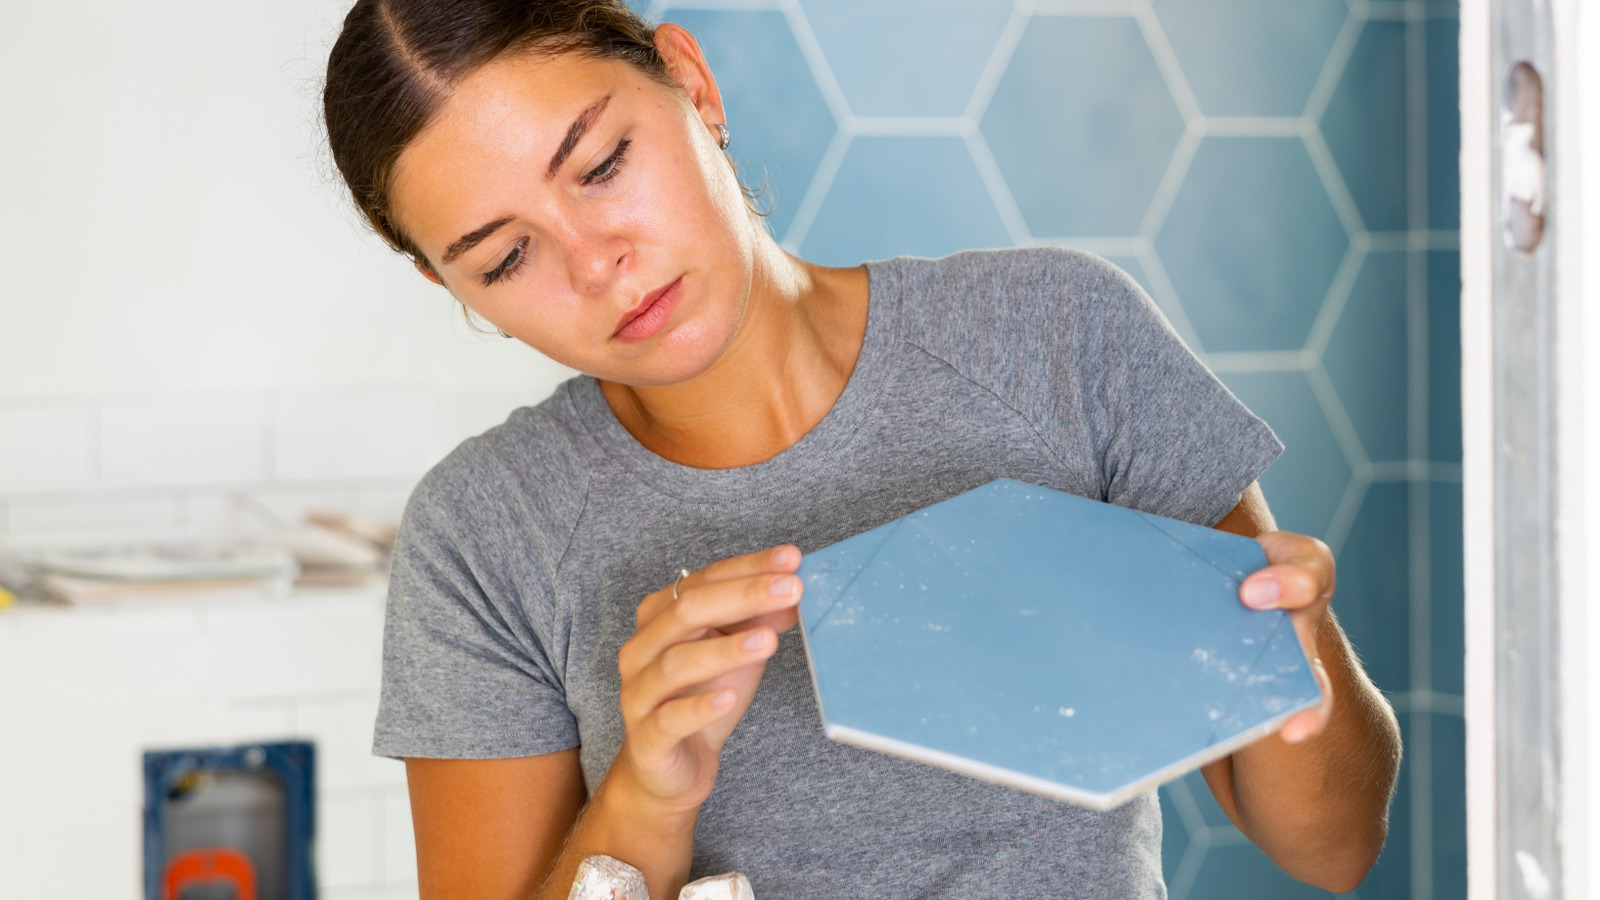
For many homeowners, the conclusion of a bathroom renovation or a kitchen backsplash update is marked by a lingering, inconvenient relic: the leftover tile. Usually destined for the back of a garage shelf or a local landfill, these heavy, durable squares of porcelain, marble, or ceramic are often overlooked as potential design elements. However, a growing trend in the DIY community—championed by influencers like Christina Dennis—is proving that these remnants can be transformed into high-end, functional decor for a fraction of the cost of retail alternatives.
By repurposing a single hexagonal floor tile and two cabinet pulls, design enthusiasts are creating sophisticated bedside trays that solve one of the most common domestic headaches: the cluttered nightstand.
The Core Concept: Organization as a Path to Serenity
The primary appeal of the DIY tile tray lies in the intersection of aesthetics and mental health. A nightstand is often the final surface we see before sleep and the first upon waking. When that surface is overwhelmed by loose charging cables, eye masks, lip balms, and forgotten jewelry, it can induce a subtle, persistent stress.
According to research published in the journal Sleep, environmental clutter can negatively influence sleep quality. A chaotic space often leads to a chaotic mind, making it harder to decompress after a long day. The bedside tray serves as a visual "container," effectively corralling disparate items into a single, curated space. By limiting the surface area available for knick-knacks, the tray forces an intentional approach to what actually belongs at one’s bedside, naturally curbing the tendency to let clutter accumulate.
Chronology of the Project: From Concept to Completion
The assembly of a tile tray is a masterclass in minimalist DIY construction. Unlike complex woodworking or upholstery projects, the tile tray requires minimal tools and a low time investment.
Phase 1: Procurement and Preparation
The process begins with selecting the "base." Large-format hexagonal tiles, which have become a staple in modern interior design, provide a geometric anchor that feels expensive and intentional. These can often be found as single samples at home improvement centers for under $4. When selecting a tile, the key is size: it must be large enough to hold a smartphone and a pair of glasses without feeling crowded.
Phase 2: Adhesive Selection
The structural integrity of the tray relies entirely on the bond between the metal pulls and the ceramic/porcelain surface. Experts and seasoned DIYers almost universally recommend E6000 adhesive. Unlike standard super glues, which can be brittle, E6000 provides a flexible, industrial-strength bond that withstands the slight vibrations and movements common in high-traffic areas like a bedroom.
Phase 3: Assembly
The assembly involves applying a measured, generous bead of adhesive to the mounting points of the cabinet pulls. Once positioned, these must be held in place—or clamped—while the adhesive sets. A full cure time is recommended, typically 24 to 48 hours, to ensure the handles can actually support the weight of the tray without detaching.
Supporting Data: The Economics of Upcycling
Beyond the aesthetic benefits, the project is a testament to the power of the "low-cost, high-impact" renovation. A typical luxury store might charge anywhere from $50 to $150 for a designer vanity or bedside tray. By contrast, the breakdown of the DIY version is remarkably modest:
- Tile (Hexagonal Porcelain or Marble): $3.00 – $5.00
- Cabinet Pulls (Two-pack): $10.00 – $12.00
- Adhesive (E6000): $4.50 (pro-rated usage)
- Felt Pads (Optional): $1.00
Total Project Cost: Approximately $18.50 to $22.50.
This represents a potential savings of over 80% compared to boutique home decor retailers. Furthermore, the ability to source tiles from leftover construction materials brings the cost down to nearly zero for those who have recently completed home improvement projects.
Implications for Modern Interior Design
The popularity of this project speaks to a broader shift in consumer behavior. We are moving away from the "disposable decor" culture of the mid-2010s and toward a more circular economy of home improvement.
Sustainability and Waste Reduction
The construction industry is one of the largest producers of waste worldwide. By finding secondary uses for construction materials—such as tiles, offcuts of lumber, or leftover paint—homeowners are participating in a micro-level sustainability movement. Every tile diverted from the trash is a small victory for resource management.
The "High-Low" Design Aesthetic
The "high-low" trend—mixing budget-friendly, repurposed items with high-end furniture—is currently defining modern interior styles. A marble hexagonal tray, while cheap to construct, carries the visual weight of a luxury item. When styled correctly with a stack of books or a small candle, it elevates the entire room, proving that "luxury" is often a matter of presentation rather than price point.
Expert Tips for a Professional Finish
While the project is simple, the difference between a "crafty" look and a professional product lies in the details.
1. Edge Treatment
Ceramic tiles, particularly those cut from larger slabs, can have sharp, serrated edges. Before finalizing the tray, it is advisable to use sandpaper to soften these edges. Start with a coarse grit (60 or 80) to smooth out any jagged protrusions, then transition to a fine grit (200–400) to achieve a glass-like finish. This not only makes the tray safer to handle but also protects the surface of your nightstand.
2. Protecting the Nightstand
The underside of a tile is often porous and abrasive. If placed directly onto a wooden nightstand, it will almost certainly cause scratches over time. Applying self-adhesive felt pads or a thin layer of cork to the bottom of the tile is a non-negotiable step for long-term furniture protection.
3. Handle Symmetry
The beauty of this project is its flexibility. While most designs utilize two handles for a "serving tray" look, others may choose to place a handle on every side of the hexagon to create a raised barrier. If choosing the latter, ensure the pulls are measured precisely to ensure they align perfectly with the geometry of the tile. Always measure the distance between the screw holes on the pulls to ensure they are shorter than the side length of the tile.
Official Perspectives: The Role of Small-Scale Renovations
Interior designers often emphasize the importance of "micro-updates." A full bedroom renovation can be an expensive, months-long endeavor. However, the psychological benefit of refreshing a space can often be achieved through smaller, targeted changes.
Designers argue that the bedside tray acts as an "anchor piece." When an item is placed on a tray, it is no longer just "stuff"; it is a collection. This small shift in categorization helps users feel more in control of their environment. By utilizing materials that are already part of the home’s "DNA"—such as tiles that match the bathroom or kitchen—the tray also creates a sense of design cohesion throughout the living space.
Future Outlook: The DIY Movement
As the cost of living continues to influence home decor trends, we can expect to see an increase in projects that utilize industrial surplus. The tile tray is just one example of how everyday materials can be elevated. Future trends may see the integration of LED lighting strips beneath the tile or the use of metallic paints to customize the hardware further.
Ultimately, the DIY bedside tray is more than a way to organize loose change and remotes. It is a symbol of intentionality. It encourages homeowners to look at their surroundings—and their leftovers—with fresh eyes, proving that with a little bit of E6000 and a creative spark, the most discarded objects can become the most cherished accents in the home. Whether you are a seasoned DIY veteran or someone looking to organize your nightstand for the first time, this project offers a perfect starting point: accessible, affordable, and undeniably stylish.
