


For those over the age of 60, the quest for longevity is often synonymous with the quest for mobility. As we age, the preservation of muscle mass in the lower body—specifically the quadriceps, glutes, and calves—becomes the primary defense against falls, mobility loss, and the gradual decline in independent living. While high-intensity weightlifting is often touted as the "gold standard" for strength, many find it intimidating or inaccessible.
Enter the wall sit: a deceptively simple isometric exercise that bridges the gap between sedentary living and functional fitness. By utilizing the support of a wall, individuals can isolate the major muscle groups of the legs, creating high-level tension without the joint-jarring impact of traditional squats or lunges. This article explores a progressive seven-day "on-ramp" challenge designed to help older adults reclaim their leg strength, one second at a time.
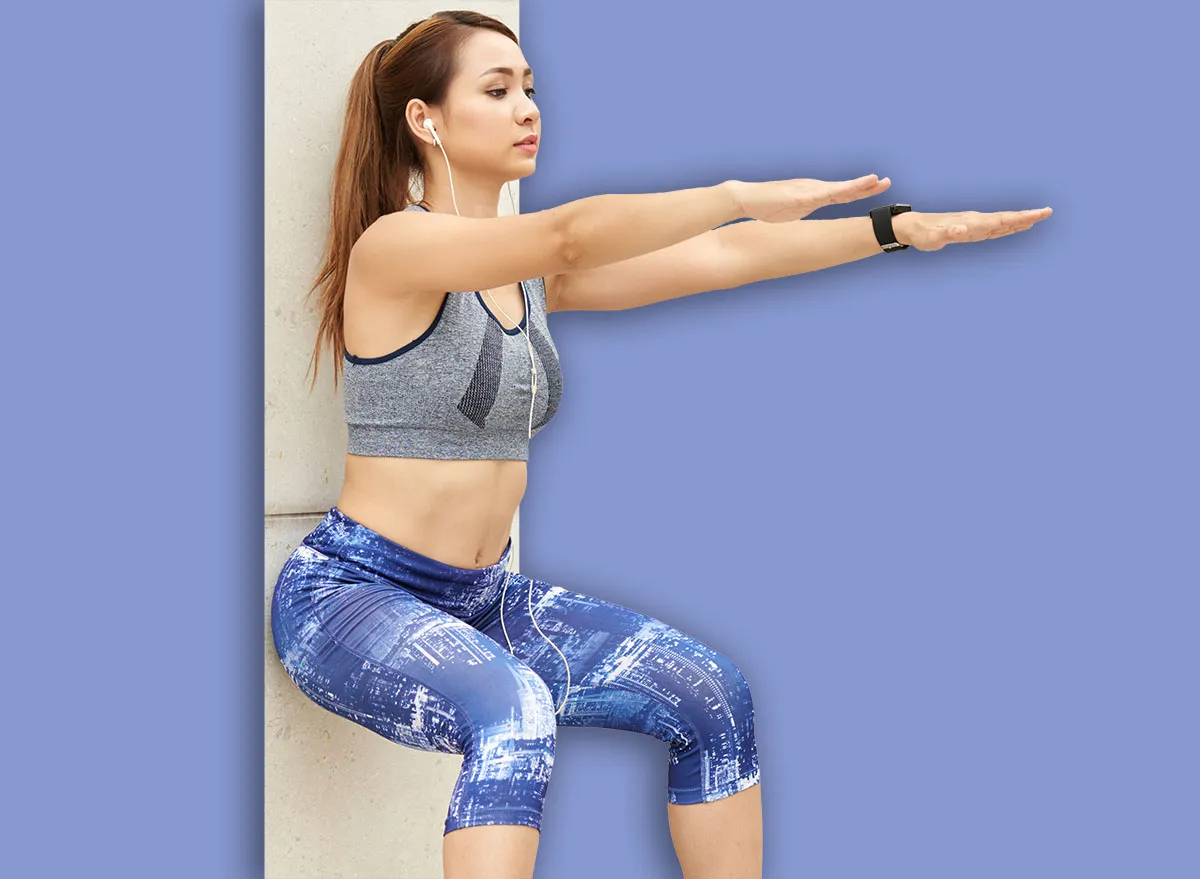
The Science of Isometric Strength
At its core, the wall sit is an isometric contraction. Unlike dynamic exercises where muscles lengthen and shorten through a range of motion, an isometric hold requires muscles to produce force while the joint angle remains static.
Research published in the National Center for Biotechnology Information highlights that isometric training is exceptionally effective for older populations. Because the wall supports the torso, the exercise eliminates the balance concerns often associated with free-standing movements. This allows the practitioner to focus entirely on neuromuscular recruitment—teaching the brain to signal the thighs and glutes to fire with intensity. By keeping the knees tracking over the toes and maintaining a neutral spine, participants can build "functional endurance," which directly translates to the ability to climb stairs, rise from a chair, and navigate uneven terrain with confidence.
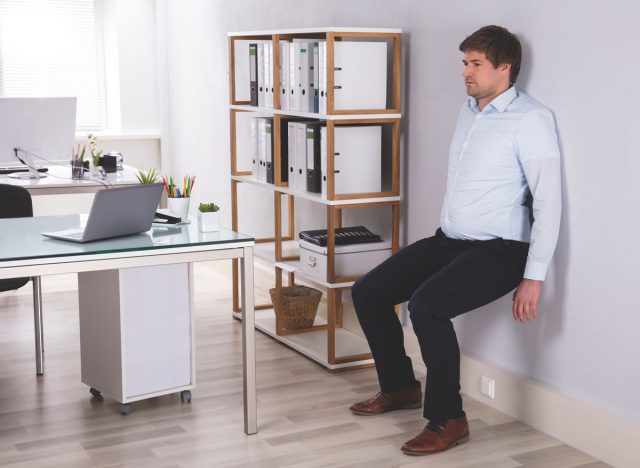
Chronology: The Seven-Day Progression Plan
This challenge is designed to be cumulative. By systematically increasing the time under tension, we allow the body to adapt to the metabolic demands of the exercise without risking overtraining or excessive muscle soreness.
Day 1: Finding Your Baseline
- The Prescription: 3 sets of 15 seconds; 45–60 seconds of rest between.
- The Goal: Establishing your "working position." Focus on finding a depth that feels challenging but sustainable. Ensure your feet are planted firmly and your weight is distributed evenly. Do not allow your knees to cave inward.
Day 2: The Five-Second Threshold
- The Prescription: 3 sets of 20 seconds; 45–60 seconds of rest between.
- The Goal: Incremental progress. Five seconds may seem negligible, but at the 20-second mark, the quads begin to recruit additional motor units. Focus on keeping the shoulders relaxed against the wall.
Day 3: Building Muscular Endurance
- The Prescription: 3 sets of 25 seconds; 60 seconds of rest between.
- The Goal: Sustained tension. By the third day, the "burn" is a signal of physiological adaptation. Keep your breathing steady—do not hold your breath.
Day 4: Refining Form and Control
- The Prescription: 3 sets of 25 seconds; 45–60 seconds of rest between.
- The Goal: Consolidation. We maintain the duration of Day 3 but focus on "clean" movement. This means minimizing any micro-adjustments or sliding during the hold.
Day 5: Increasing Total Volume
- The Prescription: 4 sets of 25 seconds; 60 seconds of rest between.
- The Goal: Cumulative volume. By adding a fourth set, we increase the total time under tension. The goal is consistency; the fourth set should feel as stable as the first.
Day 6: Extending the Limit
- The Prescription: 3 sets of 35 seconds; 60–75 seconds of rest between.
- The Goal: Push the boundary. This is the longest duration of the week. Mental fortitude is as important as physical capacity here. Maintain a "tall" posture by pressing your upper back into the wall.
Day 7: The Benchmark Test
- The Prescription: 3 sets of 40 seconds; 60–75 seconds of rest between.
- The Goal: Assessment. This final day serves as your baseline for the future. You now have a clear metric of your current capacity, which will allow you to structure your workouts in the weeks to follow.
Supporting Data: Why This Matters
According to sports performance experts, the decline in "sit-to-stand" capability is a leading indicator of frailty in adults over 65. The wall sit addresses this by targeting the Quadriceps Femoris, the muscle group most responsible for knee extension.
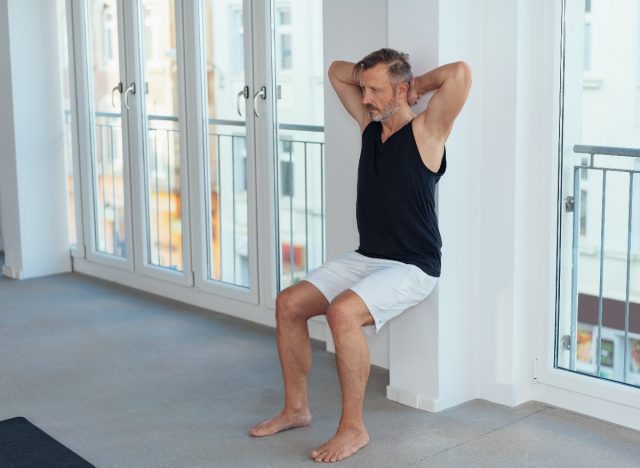
When you hold a wall sit, you are training the body to maintain stability under fatigue. A study in the Journal of Strength and Conditioning Research indicates that isometric leg exercises can also help in managing blood pressure, as the sustained contraction helps improve vascular health. Furthermore, because the exercise is self-limiting—if you lose form, you simply slide down or stop—the injury risk is significantly lower than weighted exercises performed with poor technique.
Official Recommendations and Safety Guidelines
While the wall sit is accessible, it is not without its risks if performed incorrectly. Before beginning this seven-day challenge, please consider these professional guidelines from certified trainers:

- Joint Health: If you have acute knee pain or a history of patellofemoral syndrome, start with a much higher, shallower squat. Do not force your thighs to be parallel to the floor until you have cleared any discomfort.
- The "Tracking" Rule: Always ensure your knees stay in line with your second toe. If your knees shift inward (valgus) or outward (varus), you are placing undue stress on the ligaments of the knee.
- Breathing: Never perform the Valsalva maneuver (holding your breath) during an isometric hold. Keep oxygen flowing to the muscles to prevent dizziness.
- Foot Placement: Ensure your feet are far enough away from the wall that your shins remain vertical when you are in the seated position. If your feet are too close, your heels will lift; if they are too far, you will put excessive strain on your hamstrings and lower back.
Implications for Long-Term Health
The completion of this seven-day challenge should not be viewed as an end, but rather as the opening of a door. The true value of this program lies in its ability to build the "habit of exertion."
Once the seven days are concluded, the wall sit should be integrated into a larger fitness regimen. To maximize the benefits, consider these follow-up strategies:
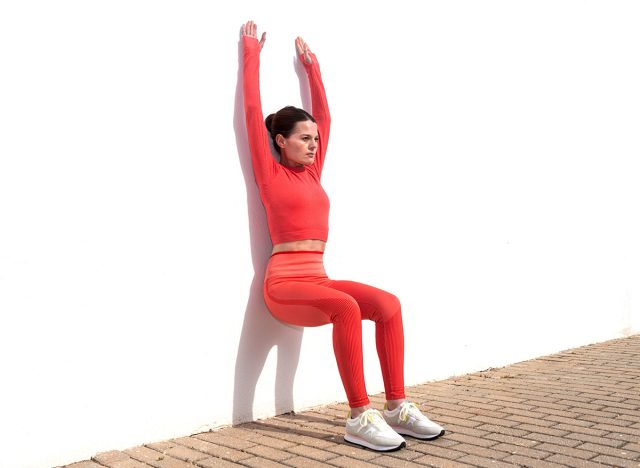
- Variations: Incorporate "Wall Sit Marches" (lifting one foot slightly off the floor) to challenge your core stability.
- Synergy: Combine your wall sits with "functional transitions." After a set, stand up and perform a series of calf raises or simple bodyweight squats to transition the strength you’ve gained into movement.
- Routine: Aim to perform this protocol 2–3 times per week as a maintenance tool.
By dedicating just a few minutes a day to this isometric challenge, individuals over 60 can significantly improve their quality of life. Whether it is the ability to walk through the grocery store without fatigue or the independence to climb a flight of stairs without assistance, the strength built against a wall is, in reality, the strength to move freely through the world.
Remember, the wall is not just a support—it is a training partner. Use it to build a foundation that will carry you through your next decade and beyond.
